Capturing Your iPhone 7 Screen: A Step-by-Step Guide to Taking Screenshots
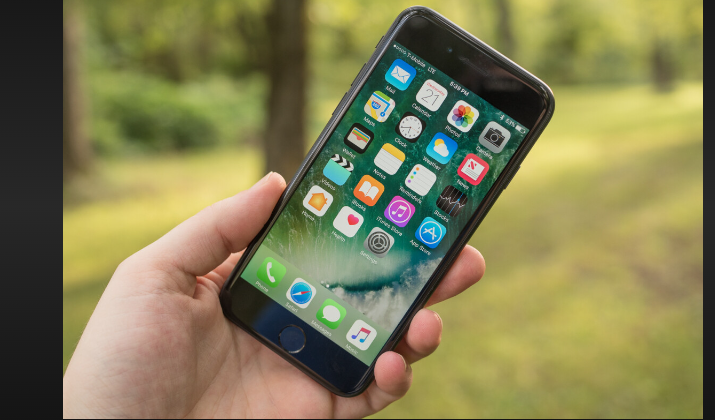
The iPhone 7, known for its sleek design and user-friendly features, is a popular choice among smartphone users. One of the essential functions of any smartphone is taking screenshots, allowing you to capture and share moments from your device's screen. In this article, we'll walk you through the process of taking screenshots on an iPhone 7, providing you with a comprehensive guide to capture your favorite moments.

Iphone 7
1. The Importance of Screenshots
Before we delve into the specifics of taking screenshots on an iPhone 7, let's understand why screenshots are valuable. Screenshots enable you to:
- Capture Memories: Save memorable text messages, photos, or social media posts.
- Troubleshoot Issues: Document and share errors or problems with tech support.
- Share Information: Quickly share information from your screen with friends or colleagues.
- Create How-To Guides: Build visual guides or tutorials for various tasks.
2. Identifying the iPhone 7
Ensure that you have an iPhone 7 or iPhone 7 Plus. This guide is specifically tailored for this model.
You can verify your device model by checking the back of your iPhone or accessing the settings.
3. Understanding the Buttons
Taking a screenshot on an iPhone 7 involves using physical buttons. Familiarize yourself with the following buttons:
- Sleep/Wake Button: Located on the right side (or top, depending on the orientation), this button is used to put your device to sleep or wake it up.
- Home Button: The circular button on the front of the device, usually below the screen.
4. Capturing a Screenshot
Taking a screenshot on an iPhone 7 is a simple and quick process:
-
Step 1: Navigate to the screen you want to capture. Ensure that the content you wish to screenshot is visible on your display.
-
-
Step 2: Press the "Sleep/Wake Button" (located on the right side or top) and the "Home Button" simultaneously. Press both buttons at the same time and release them quickly.
-
-
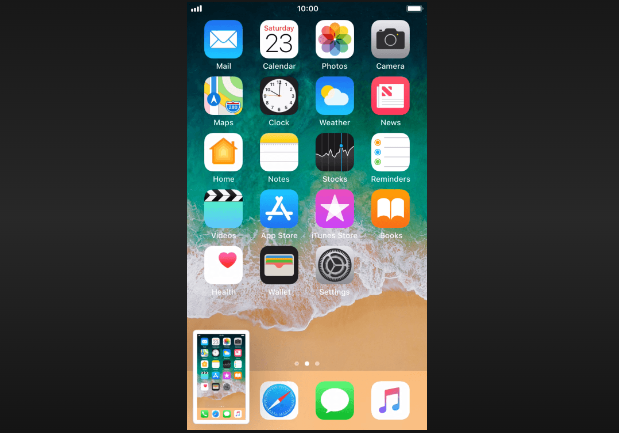
Step 3: You will see the screen flash briefly, and you may hear a camera shutter sound if your device's sound is enabled. This indicates that the screenshot has been taken.
-
-
Step 4: The screenshot will appear briefly as a thumbnail in the lower-left corner of your screen. You can tap on this thumbnail to open and edit the screenshot immediately, or allow it to automatically save to your Photos app.
5. Accessing Your Screenshots
To view and manage your screenshots, follow these steps:
-
Step 1: Open the "Photos" app on your iPhone 7.
-
-
Step 2: Navigate to the "Albums" tab located at the bottom of the screen.
-
-
Step 3: Scroll down and tap on "Screenshots." This album contains all your saved screenshots.
-
-
Step 4: You can view, edit, share, or delete your screenshots from this album.
6. Additional Tips and Considerations
- Edit Screenshots: The Photos app allows you to edit your screenshots, add annotations, crop, or apply filters.
- Sharing Screenshots: Share your screenshots via messages, email, social media, or other apps directly from the Photos app.
- Organize Screenshots: Create folders or albums within the Photos app to keep your screenshots organized.
7. Troubleshooting
If you encounter issues with taking screenshots, ensure that you are pressing both the "Sleep/Wake Button" and the "Home Button" simultaneously.
If the problem persists, consider restarting your device or checking for software updates.

Screenshot on iphone 7
In conclusion, capturing screenshots on an iPhone 7 is a straightforward process that allows you to document and share important information or memorable moments from your device's screen. Whether you want to save a funny text message, troubleshoot a technical issue, or create informative guides, knowing how to take screenshots is a valuable skill for iPhone 7 users. Follow the steps outlined in this guide to capture and manage your screenshots effortlessly.