How to Make Gold Royal Icing: A Step-by-Step Guide
Gold royal icing is a dazzling and versatile decorating element for cakes, cookies, and other baked goods. Whether you're preparing for a special occasion or just want to add a touch of elegance to your desserts, making gold royal icing is a valuable skill. In this step-by-step guide, we'll walk you through the process of creating stunning gold royal icing for your culinary creations.
How to make gold royal icing?
I. Ingredients and Supplies
Before you start making gold royal icing, gather the necessary ingredients and supplies:
Ingredients:
- Confectioners' sugar (powdered sugar)
- Meringue powder or egg whites
- Lemon juice or water
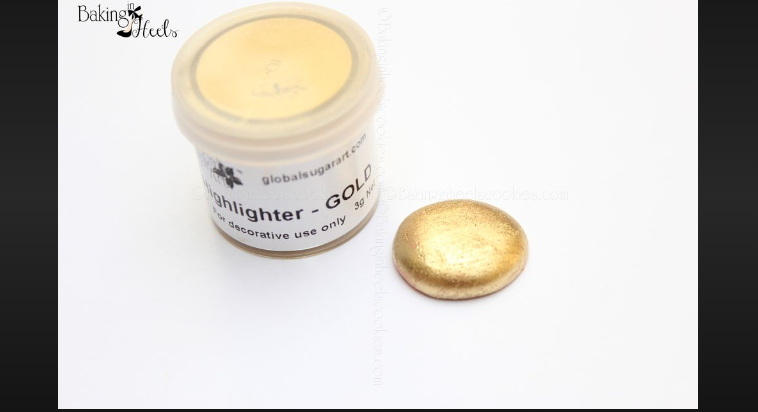
- Edible gold dust or edible gold paint
Supplies:
- Mixing bowls
- Electric mixer or stand mixer
- Whisk attachment (if using a stand mixer)
- Rubber spatula
- Piping bags and tips (optional)
- Small paintbrushes (if using edible gold paint)
- A palette or small dish (if using edible gold dust)
II. Making Royal Icing
Follow these steps to prepare royal icing as the base for your gold royal icing:
1. Combine Ingredients:
- In a mixing bowl, combine 4 cups of confectioners' sugar and 3 tablespoons of meringue powder.
2. Add Liquid:
- Gradually add 6 tablespoons of lemon juice or water to the dry ingredients. Mix on low speed until the mixture is smooth and well combined. Scrape the sides of the bowl with a rubber spatula as needed.
3. Beat to Stiff Peaks:
- Increase the mixer speed to medium-high and beat the mixture until stiff peaks form. This may take around 5-7 minutes.
4. Adjust Consistency:
- Depending on your project, you may need to adjust the icing's consistency. For outlining, you'll want thicker icing, while flooding requires a slightly thinner consistency. Add more lemon juice or water if needed, a teaspoon at a time, until you reach the desired consistency.
III. Adding Gold Color
Now, let's transform your royal icing into dazzling gold royal icing:
1. Edible Gold Dust Method:
- In a small dish or palette, pour a small amount of edible gold dust.
- Using a clean, dry paintbrush, pick up some gold dust and gently tap it into the royal icing. Continue adding gold dust and mixing until you achieve the desired gold color. Adjust the intensity by adding more or less gold dust.
2. Edible Gold Paint Method:
- If using edible gold paint, simply paint the gold color onto your cookies or cakes with a clean, food-safe paintbrush. Allow the paint to dry completely.
IV. Application
With your gold royal icing ready, you can now use it to decorate your baked goods:
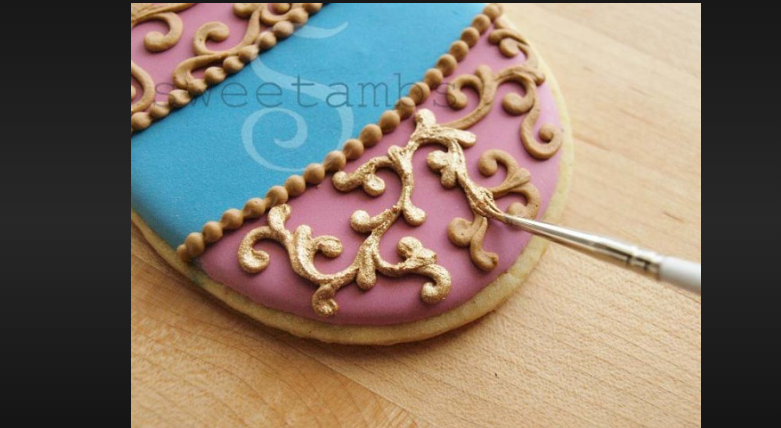
1. Piping:
- If you plan to pipe intricate designs, transfer the gold royal icing into piping bags fitted with the desired tips. Decorate your cookies or cakes with precision.
2. Flooding:
- For a smooth and even gold surface, use a squeeze bottle or a piping bag to gently flood the area you want to cover. Use a toothpick or a scribe tool to spread the icing evenly.
3. Drying:
- Allow your gold royal icing decorations to dry completely. Drying times may vary, but it's often best to leave them undisturbed for several hours or overnight.
Gold royal icing
Creating gold royal icing adds a touch of opulence to your baked creations, elevating them to a new level of sophistication. Whether you're crafting delicate wedding cookies, luxurious cupcakes, or intricate cake designs, mastering the art of making gold royal icing opens up a world of possibilities for your culinary endeavors. Experiment with different techniques and designs to create edible masterpieces that shine with the elegance of gold.