Replacing ADT Battery: A Step-by-Step Guide
ADT security systems are designed to keep your home safe and secure, and their battery-powered devices play a crucial role in their functionality. Over time, the battery in your ADT device may need to be replaced to ensure optimal performance. In this guide, we will provide you with a step-by-step process to replace the ADT battery and keep your security system running smoothly.
Replace ADT alarm system battery
1. Understanding ADT Batteries:
ADT security systems use various types of batteries, depending on the specific device. The most common type of battery used is a rechargeable sealed lead-acid battery. These batteries are durable and long-lasting, but they will eventually need to be replaced as they reach the end of their lifespan.
2. Identifying the Battery:
The first step in replacing an ADT battery is to identify the type and model of the battery used in your specific device. You can find this information in the user manual or on the battery itself. Make a note of the battery's specifications to ensure you purchase the correct replacement.
3. Gathering the Necessary Tools:
Before you begin the battery replacement process, gather the following tools:
- Screwdriver (flathead or Phillips, depending on the device)
- Safety gloves
- Safety goggles
-
4. Powering Down the Device:
Before replacing the battery, it's crucial to power down the ADT device to avoid any electrical mishaps. Follow these steps:
- Disarm the ADT security system by entering your security code.
- Locate the power supply for the device and unplug it from the wall outlet.
- Disconnect any backup power sources, such as a backup battery or power cable.
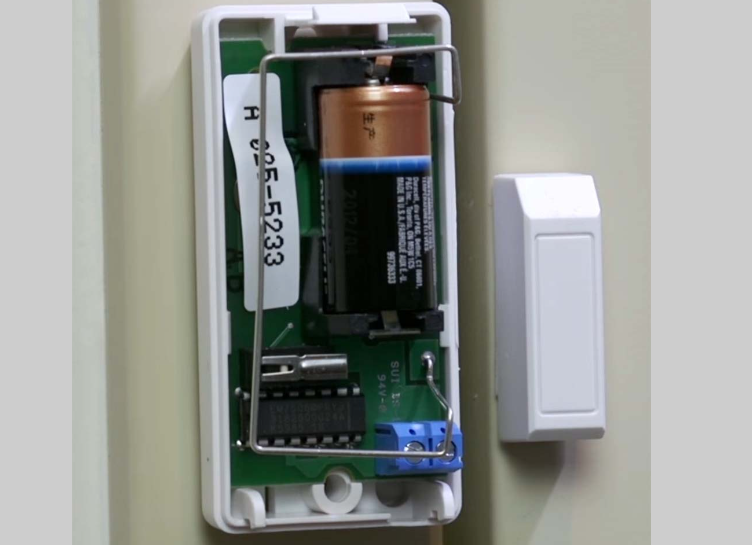
5. Removing the Old Battery:
Once the device is powered down, follow these steps to remove the old battery:
- Use the appropriate screwdriver to remove the screws securing the battery compartment cover.
- Carefully remove the cover to expose the battery.
- If necessary, disconnect any cables or connectors attached to the battery terminals.
- Gently lift the old battery out of the compartment and set it aside.
6. Installing the New Battery:
With the old battery removed, it's time to install the new one. Follow these steps:
- Take the new battery and place it into the battery compartment, ensuring it is positioned correctly.
- Reconnect any cables or connectors to the battery terminals, if applicable.
- Replace the battery compartment cover and secure it with the screws.
7. Powering Up the Device:
After the new battery is installed, it's time to power up the ADT device. Follow these steps:
- Reconnect any backup power sources, such as a backup battery or power cable.
- Plug the device's power supply back into the wall outlet.
- Wait for the device to power up and initialize. This may take a few minutes.
- Arm the ADT security system by entering your security code.
8. Testing the Device:
To ensure that the new battery is functioning correctly, perform a test of the ADT device. Arm and disarm the security system to verify that all sensors, alarms, and notifications are working as expected.
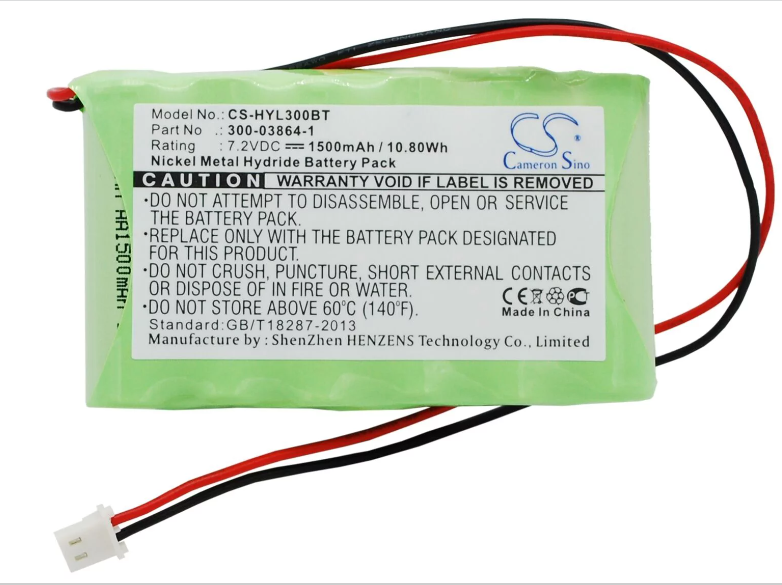
Battery For ADT 7.2v 1500mAh
Replacing the ADT battery is a straightforward process that can help maintain the performance of your security system. By following the step-by-step guide outlined in this article, you can confidently replace the battery in your ADT device and keep your home protected. Remember to gather the necessary tools, power down the device, remove the old battery, install the new battery correctly, and test the system afterward. If you encounter any difficulties or have specific questions, consult the user manual or contact ADT customer support for assistance.