How to Make a Bra Strap Bracelet: A Step-by-Step Guide
Bra strap bracelets are a fun and creative way to upcycle old bras and transform them into fashionable accessories. Not only is this project eco-friendly, but it also allows you to customize your bracelets to match your style. In this step-by-step guide, we will show you how to make a bra strap bracelet with ease.
I. Materials You'll Need
Before diving into the crafting process, gather the following materials:
- Old Bra: Choose a bra with adjustable straps that you no longer wear. It can be plain or have decorative elements.
- Scissors: High-quality scissors will make cutting the bra strap easier and more precise.
- Needle and Thread: A needle and matching thread color are essential for securing the ends of your bracelet.
- Embellishments (optional): If you want to add some flair to your bracelet, consider using beads, charms, or fabric scraps.
II. Step 1: Prepare Your Bra
1. Select the Bra: Choose the bra you want to repurpose into a bracelet. Ensure it has adjustable straps.
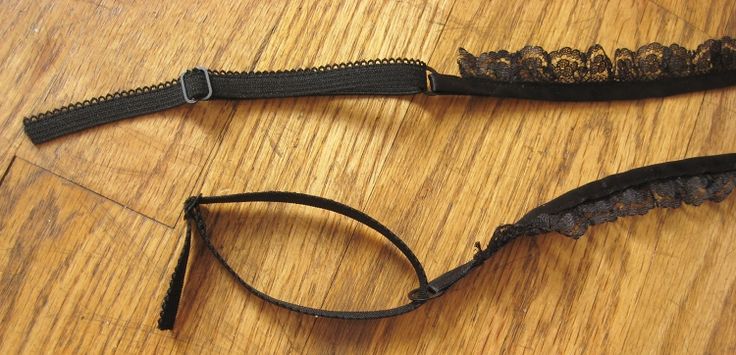
2. Remove the Straps: Carefully detach the bra straps from the back and front of the bra using scissors. You should end up with two straps.

Remove the Straps
III. Step 2: Measure and Cut
1. Measure Your Wrist: Wrap one of the bra straps around your wrist to determine the desired length of your bracelet. Leave a little extra for overlap.
2. Cut the Strap: Use your scissors to cut the strap to the desired length.
IV. Step 3: Stitch the Ends
Fold about 1/4 inch of each strap end towards the inside and secure them with a few stitches. This prevents fraying and gives a clean finish.
V. Step 4: Create the Bracelet
1. Overlap the Straps: Overlap the ends of both straps by about 1 inch. Make sure the straps lie flat against each other.
2. Stitch the Overlap: Sew the overlapping sections together securely. This will be the closure of your bracelet.

Stitch the Overlap
VI. Step 5: Customize Your Bracelet (Optional)
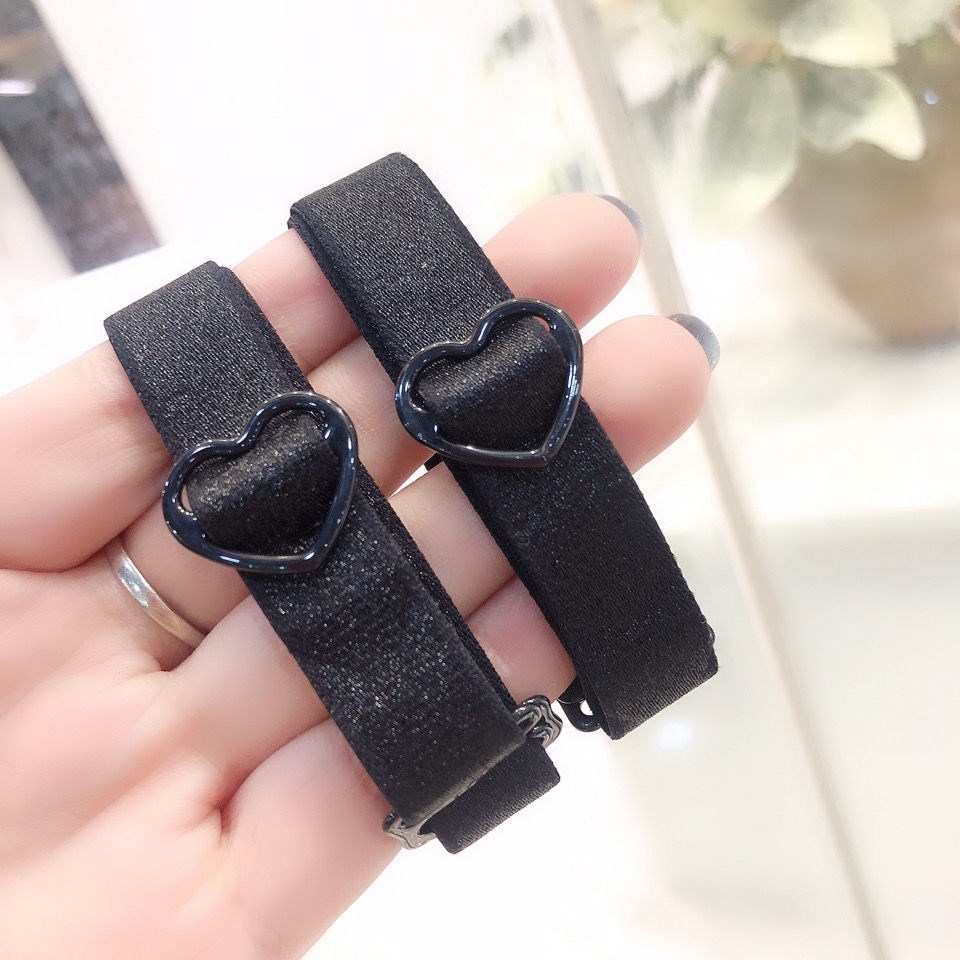
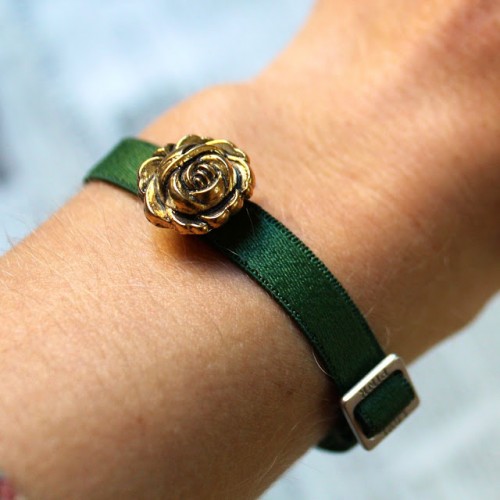
1. Add Beads or Charms: If you want to embellish your bracelet, thread beads or charms onto the bra straps before sewing the ends together.

Add Beads or Charms
2. Experiment with Fabric: Cut small strips of fabric and wrap them around the bra straps for a colorful twist.
VII. Step 6: Final Touches
1. Trim Excess Thread: Trim any excess thread from your stitches for a neater appearance.
2. Adjust the Fit: Ensure your bracelet fits comfortably on your wrist. If needed, trim the excess strap length.
VIII. Conclusion
Congratulations! You've successfully turned an old bra into a stylish bra strap bracelet. This creative and sustainable DIY project not only adds a unique accessory to your collection but also promotes upcycling and reducing waste. Feel free to experiment with different bra styles, colors, and embellishments to create bracelets that match your personal style. Enjoy wearing your one-of-a-kind creation!