Disassembling Your PS4: A Step-by-Step Guide
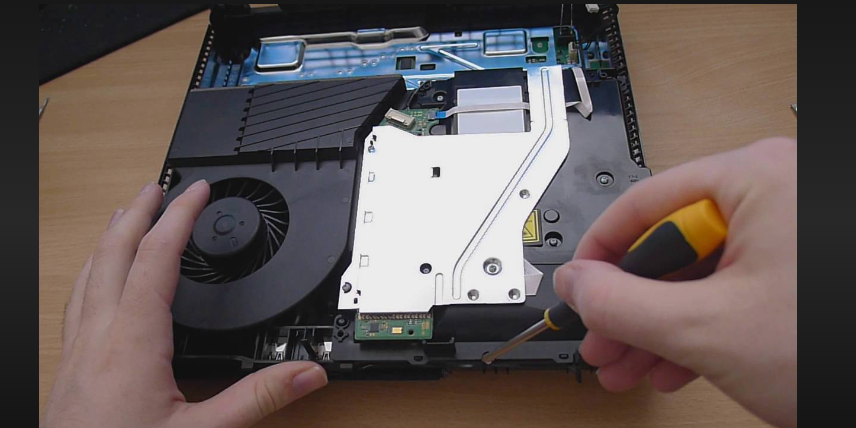
The PlayStation 4 (PS4) has been a beloved gaming console for years, providing countless hours of entertainment. However, there may come a time when you need to take it apart for cleaning, maintenance, or repairs. In this comprehensive guide, we will walk you through the process of safely and effectively disassembling your PS4.

Take apart a ps4
1. Understanding the Importance of Safe Disassembly
Before you begin, it's crucial to recognize that disassembling your PS4 carries some risks.
You may void your warranty or damage components if not done correctly.
Therefore, proceed with caution and only attempt this if you're confident in your technical skills.
2. Gather Your Tools and Workspace
To take apart your PS4, you'll need a few tools and a clean workspace:
- Screwdriver set (including Phillips and Torx screwdrivers)
- Tweezers (optional)
- Compressed air canister or a can of compressed air
- A clean, soft cloth or microfiber cloth
- Anti-static wrist strap (optional but recommended)
- A well-lit and clean workspace with ample room to organize components
3. Prepare Your PS4
Before disassembling your PS4, ensure it is completely powered off and unplugged from any electrical source. This is essential for your safety.
4. Removing the Outer Shell
The first step is to remove the PS4's outer shell:
- Locate the warranty seal (if applicable) and be aware that breaking it may void your warranty.
- Remove the screws securing the outer shell. These screws are typically Phillips or Torx screws.
- Carefully slide the outer shell off the PS4, exposing the internal components.
5. Removing the Hard Drive
If you're only interested in upgrading or replacing the hard drive, follow these steps:
- Locate the hard drive bay cover and remove the screw(s) holding it in place.
- Slide the cover off and carefully remove the hard drive.
- Replace or upgrade the hard drive as needed, then reassemble in reverse order.
6. Cleaning and Maintenance
If you're disassembling your PS4 for cleaning or maintenance, use compressed air to blow dust out of the internal components, including the fan and heatsinks.
Be gentle and avoid touching sensitive parts with your fingers.
7. Reassembly
After completing your desired tasks, it's time to reassemble your PS4:
- Carefully place the outer shell back onto the console.
- Reattach and tighten the screws in their original positions.
- Ensure all components are properly aligned and secure.
Testing Your PS4: Before using your PS4 again, plug it in and power it on to confirm that everything is working correctly.

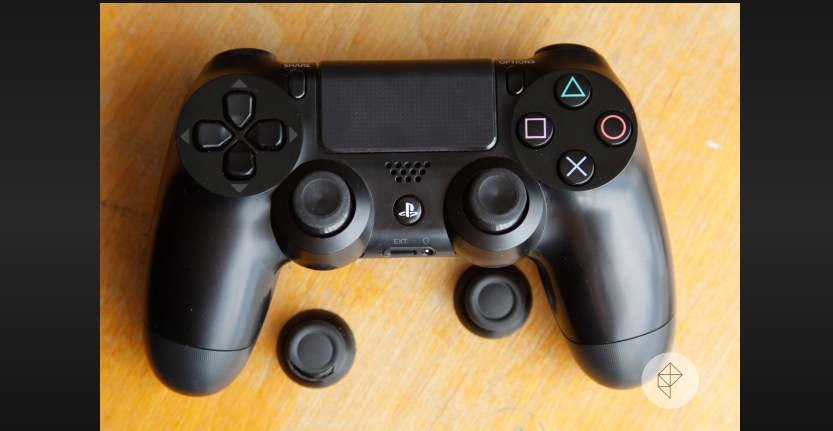
The PS4
Disassembling your PS4 can be a daunting task, but with the right tools and careful attention, it is achievable. Whether you're upgrading hardware, cleaning out dust, or performing maintenance, following this step-by-step guide will help ensure a successful and safe disassembly process. Remember to proceed with caution, and if you're unsure at any point, consider seeking professional assistance to avoid any potential damage to your beloved gaming console.