How to Separate Audio from Video in Sony Vegas 14
Sony Vegas 14 is a powerful video editing software that offers various features for creating and editing videos. One common task in video editing is separating audio from video, which can be useful for various purposes. In this article, we will guide you through the process of how to separate audio from video in Sony Vegas 14, step by step.
Section 1: Understanding the Importance of Separating Audio from Video

Understanding the Importance of Separating Audio from Video
Before we dive into the technical details, let's discuss why it's essential to separate audio from video in certain situations.
1.1 Enhancing Audio Quality:
Separating audio allows you to apply specific audio effects and enhancements independently, improving overall audio quality.
1.2 Voiceovers and Dubbing:
Separated audio can be used for voiceovers or dubbing, providing more control over the final audio mix.
Section 2: Importing Media Files into Sony Vegas 14

Importing Media Files into Sony Vegas 14
To start the process, you need to import your media files into Sony Vegas 14.
2.1 Launch Sony Vegas 14:
Open the software on your computer.
2.2 Import Media Files:
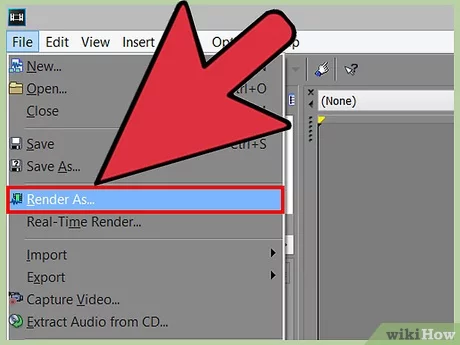
Click on "File" in the top-left corner and select "Import." Choose the video file you want to work with and click "Open."
Section 3: Separating Audio from Video
Now, let's get into the steps of separating audio from video.
3.1 Drag and Drop:
In the timeline, locate your imported video clip and drag it onto the timeline.
3.2 Right-click on the Video Clip:
Right-click on the video clip in the timeline.
3.3 Select "Group" and "Remove from":
From the context menu, select "Group" and then "Remove from."
3.4 Separate Video and Audio:
This action will separate the video and audio tracks, allowing you to work with them independently.
Section 4: Editing the Separated Audio
Now that you have the audio separated, you can make adjustments and edits as needed.
4.1 Audio Effects:
Apply audio effects, such as equalization or noise reduction, to enhance the audio quality.
4.2 Volume Control:
Adjust the volume of the audio track to achieve the desired balance with the video.
Section 5: Saving Your Project
After you've made the necessary edits, it's time to save your project.
5.1 Save the Project:
Click on "File" and select "Save" to save your project with the audio and video separated.
Separating audio from video in Sony Vegas 14 is a fundamental skill for video editors. Whether you want to improve audio quality, add voiceovers, or perform other audio-related tasks, knowing how to do this efficiently can significantly enhance your video editing capabilities. Follow the steps outlined in this guide, and you'll be on your way to mastering this essential technique in Sony Vegas 14.