Easy Steps for Syringe Drawing: A Simple Guide
Drawing is a wonderful form of creative expression that allows us to bring our imagination to life. In this guide, we will explore the step-by-step process of creating a simple and captivating illustration of a syringe. Whether you're a beginner or an experienced artist, this easy-to-follow tutorial will help you master the art of syringe drawing. Let's dive in and unleash your artistic potential!
I. Materials You'll Need:
Before we start, gather the following materials to ensure a smooth drawing experience:
- Paper or Sketchbook
- Pencil (HB or 2B)
- Eraser
- Fine-tip Pen or Marker
- Ruler (optional)
II. A Simple Guide:
1. Step 1: Basic Outline: Begin by lightly sketching a simple oval shape for the body of the syringe. This will serve as the foundation for your drawing. Keep the lines faint so you can easily adjust them later.
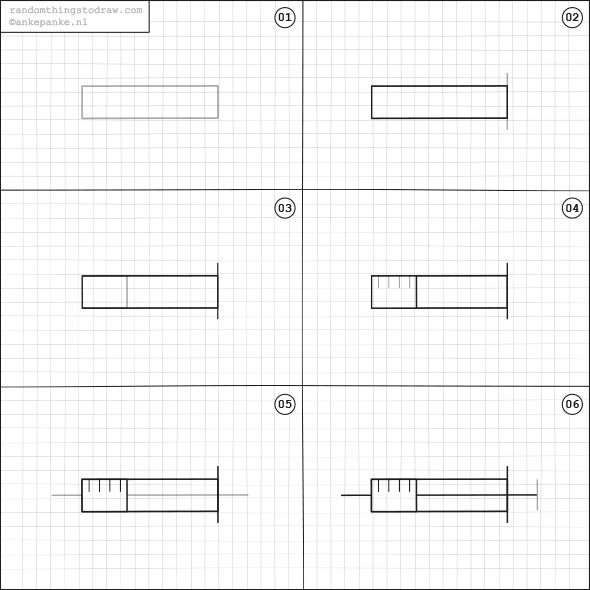
Basic Outline
2. Step 2: Adding Details: Now, add the plunger at the back of the oval. Draw a small rectangle and a thin cylinder extending from it. This represents the plunger's handle and the part that is pushed to dispense liquid.
3. Step 3: Creating the Needle: Draw a long, slender triangle extending from the front of the oval. This triangle will be the needle of the syringe. Make sure one end is connected to the oval, and the other end is pointed.
Creating the Needle
4. Step 4: Adding Depth: To make your drawing more realistic, add shading. Imagine a light source and shade the opposite side of each element. This will give your syringe a three-dimensional appearance.
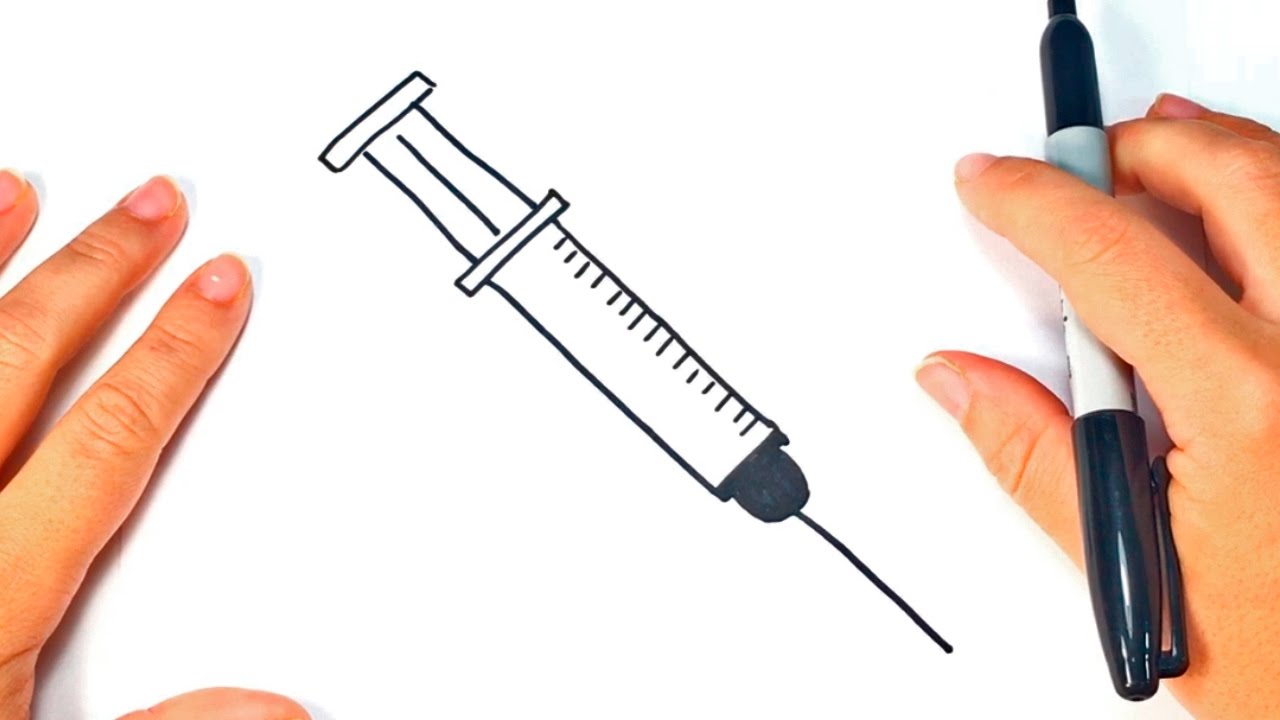
5. Step 5: Inking Your Drawing: Once you're satisfied with your pencil sketch, carefully go over the lines with a fine-tip pen or marker. This will make your drawing stand out and give it a polished look. Remember to let the ink dry before erasing any pencil marks.
6. Step 6: Fine-Tuning: After the ink is dry, erase any remaining pencil marks to clean up your drawing. You can also adjust the thickness of certain lines to add emphasis to different parts of the syringe.
7. Step 7: Adding Shadows: To take your drawing to the next level, add shadows to create depth and dimension. Identify where your imagined light source is coming from, and shade the appropriate areas accordingly. This will make your syringe appear more realistic and captivating.
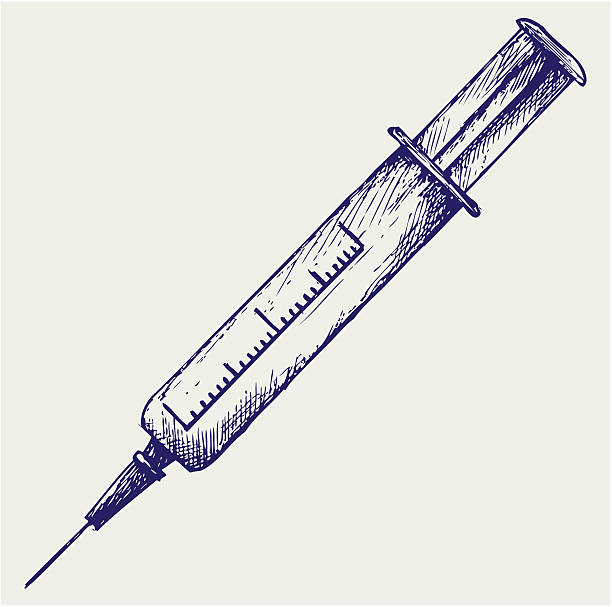
Adding Shadows
8. Step 8: Final Touches: Inspect your drawing and make any final adjustments. Add small details like reflection highlights to make the syringe shine. Consider adding a background or additional elements if you want to enhance the overall composition.
III. Conclusion:
Congratulations, you've successfully created a simple and visually appealing syringe drawing! This step-by-step guide has walked you through the process, from basic outlines to shading and inking. Remember, practice makes perfect, so keep honing your drawing skills. With dedication and patience, you'll continue to improve and create even more impressive artworks. Enjoy your artistic journey!