How to Install Oblivion Mods with Wrye Bash: A Comprehensive Guide
The Elder Scrolls IV: Oblivion is a beloved and immersive RPG game that has captivated players for years. To enhance the gaming experience, many players turn to mods, which add new content, features, and improvements to the game. Wrye Bash is a popular mod management tool for Oblivion, offering an efficient way to install and manage multiple mods. In this comprehensive guide, we will walk you through the step-by-step process of installing Oblivion mods with Wrye Bash, allowing you to customize your gaming experience to your liking.

Wrye Bash at Oblivion Nexus
1. What is Wrye Bash?
Before we delve into the mod installation process, let's briefly introduce Wrye Bash.
Wrye Bash is a powerful mod management tool developed for The Elder Scrolls series games, including Oblivion.
It allows users to install, activate, deactivate, and organize various mods, making it an essential tool for mod enthusiasts.
2. Downloading Wrye Bash
To get started with Wrye Bash, follow these steps to download the tool:
a. Visit the Nexus Mods website: Go to the Nexus Mods website, where you can find the Wrye Bash download page.
b. Search for Wrye Bash: Use the search function on the website to find the latest version of Wrye Bash for Oblivion.
c. Download the Tool: Once you find the correct version, click on the download link to save the Wrye Bash installer to your computer.
3. Installing Wrye Bash
Now that you have the Wrye Bash installer, follow these installation steps:
a. Run the Installer: Locate the downloaded Wrye Bash installer on your computer and run it.
b. Choose Oblivion Installation Path: During the installation process, the installer will prompt you to specify the path where Oblivion is installed. Select the correct installation directory.
c. Complete the Installation: Follow the on-screen instructions to complete the installation process. Once finished, Wrye Bash will be ready for use.
4. Backing Up Oblivion
Before installing any mods, it's crucial to create a backup of your Oblivion game files. This ensures that you can revert to the original game state if any issues arise during the mod installation process.
a. Copy the Oblivion Folder: Locate your Oblivion installation folder on your computer. Right-click on the folder, and choose "Copy" to create a backup.
b. Paste the Backup: Find a safe location on your computer, such as an external drive or a separate folder, and right-click to "Paste" the copied Oblivion folder as a backup.
5. Selecting Mods
With Wrye Bash installed and a backup created, it's time to select the mods you want to install. Browse popular modding websites, such as Nexus Mods or Oblivion Nexus, to find the mods that suit your preferences. Look for mods that are compatible with Wrye Bash for a smoother installation process.
6. Downloading Mods
Once you've chosen the mods you want to install, follow these steps to download them:
a. Locate the Mods: Find the mod download links on the modding website.
b. Download the Files: Click on the download links to save the mod files to your computer.
c. Organize the Downloads: Create a separate folder on your computer to store all the downloaded mod files. This makes it easier to manage and locate the files during the installation process.
7. Installing Mods with Wrye Bash
With the mod files ready, follow these steps to install them using Wrye Bash:
a. Launch Wrye Bash: Open Wrye Bash from your computer's program list or desktop shortcut.
b. Select the Oblivion Game: When prompted, choose Oblivion as the game you want to manage with Wrye Bash.
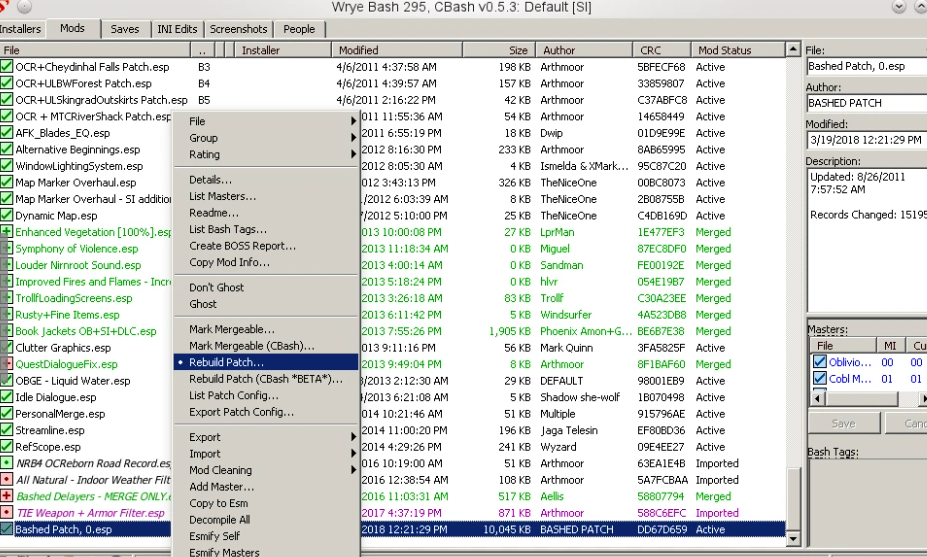
c. Install the Mods: Click on the "Installers" tab in Wrye Bash. Drag and drop the downloaded mod files (in the form of archive files like .zip or .rar) into the Wrye Bash window.
d. Enable the Mods: Once the mod files are added to Wrye Bash, activate them by checking the box next to each mod's name.
e. Arrange the Load Order: Organize the load order of the mods by dragging and dropping them in the desired order. This ensures that mods that may conflict with each other are placed in the correct sequence.
f. Apply the Changes: After making all the necessary adjustments, click on the "Apply" button to install and activate the selected mods.
8. Launching Oblivion with Wrye Bash
Now that you have installed your desired mods, follow these steps to launch Oblivion with Wrye Bash:
a. Launch Wrye Bash: Open Wrye Bash from your computer.
b. Select Oblivion: Choose Oblivion from the list of games managed by Wrye Bash.
c. Click "Run Oblivion": Click on the "Run Oblivion" button in Wrye Bash to launch the game.
d. Verify the Mods: In the Oblivion game launcher, select "Data Files" to ensure that all the installed mods are listed and checked. This confirms that the mods are properly activated.
9. Testing the Mods
After launching Oblivion with Wrye Bash, explore the game to test the installed mods. Pay attention to any changes, additions, or improvements made by the mods you installed. If everything is functioning as expected, congratulations! You have successfully installed Oblivion mods with Wrye Bash.

Install Wrye Bash Modding Oblivion
Modding Oblivion with Wrye Bash opens up a world of possibilities for enhancing and customizing your gameplay experience. By following this comprehensive guide, you have learned how to install Oblivion mods with Wrye Bash step by step. From downloading and installing Wrye Bash to selecting, downloading, and activating mods, you now have the tools and knowledge to personalize your Oblivion adventure to your liking.
Whether you're seeking visual enhancements, new gameplay features, or quality-of-life improvements, the modding community offers a wide array of options to explore. So, venture forth into the enchanting world of Oblivion with your newly installed mods, and may your journey be filled with excitement and endless possibilities!