Deleting a Board in Jira: Step-by-Step Guide
Jira is a widely used project management tool that helps teams track and manage their work efficiently. Boards in Jira are powerful features that allow you to visualize and organize your projects, but there may come a time when you need to delete a board. In this article, we will provide you with a step-by-step guide on how to delete a board in Jira, ensuring that you can keep your project space tidy and organized.

How to delete board?
1. Accessing Jira:
To begin, access your Jira account by navigating to the Jira website or launching the Jira desktop application. Make sure you have the necessary permissions to manage boards in your Jira instance.
2. Selecting the Project:
Once you're logged in, select the project for which you want to delete a board. This will typically be displayed on the dashboard or in the project list. Click on the project name to enter the project space.
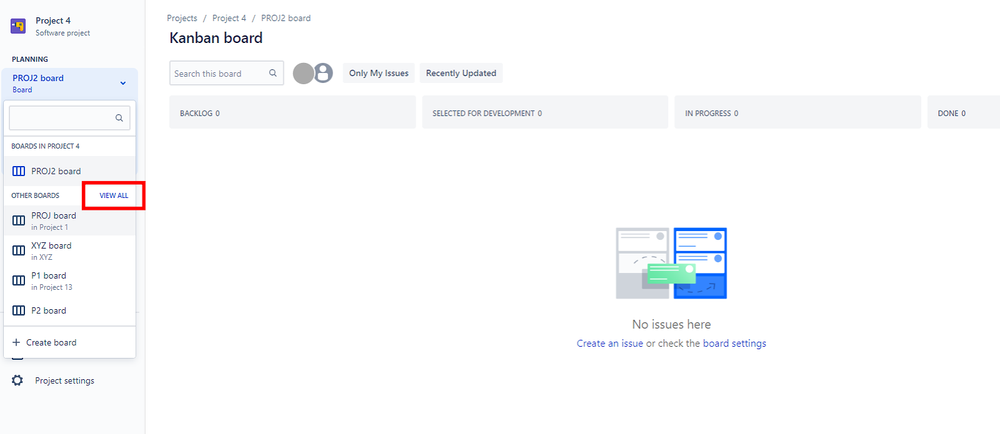
3. Navigating to the Board:
Within the project space, locate the sidebar or menu options and look for the "Boards" or "Agile Boards" section. Click on it to view the list of boards associated with the project.
4. Finding the Board to Delete:
In the list of boards, locate the specific board you want to delete. Take note of the board's name or any other identifying information to ensure you're deleting the correct one.
5. Opening the Board Settings:
Once you've identified the board, find the gear icon or the "..." (More) button next to the board's name. Click on it to access the board settings and management options.
6. Accessing Board Settings:
Within the board settings, look for the "Board Settings" or "Configure Board" option. This will take you to a page where you can modify various aspects of the board.
7. Deleting the Board:
On the board settings page, scroll down until you find the option to delete the board. It may be labeled as "Delete Board," "Remove Board," or something similar. Click on this option to initiate the deletion process.
8. Confirming the Deletion:
After clicking on the delete option, a confirmation prompt will appear asking you to confirm the deletion. Read the prompt carefully to ensure you're deleting the correct board, as this action cannot be undone. If you're certain, click on the "Confirm" or "Delete" button to proceed.
9. Verifying Deletion:
Once the deletion is complete, you should receive a confirmation message or be redirected back to the board list. Take a moment to verify that the board has been successfully deleted.
10. Clean Up and Documentation:
After deleting the board, it's a good practice to update any relevant documentation or inform team members who might be affected by the board's removal. This ensures everyone is aware of the changes and can adjust their workflows accordingly.
Delete board
Deleting a board in Jira is a straightforward process that helps you keep your project space organized and clutter-free. By following the steps outlined in this guide, you can easily delete a board that is no longer needed. Remember to exercise caution when deleting a board and confirm your actions before proceeding. Enjoy managing your projects effectively in Jira!