How to Change the Time of an Event on Facebook: A Step-by-Step Guide
When organizing an event on Facebook, it's essential to provide accurate information, including the event time. However, there may be instances when you need to make changes to the event's scheduled time. This step-by-step guide will walk you through the process of changing the time of an event on Facebook.

How to change the time of an event on facebook?
1. Access Your Facebook Account:
To begin, log in to your Facebook account using your username and password. This will grant you access to your profile and allow you to manage your events.
2. Navigate to the Events Page:
Once logged in, locate the Events tab on the left-hand side of your Facebook homepage. Click on the tab to navigate to the Events page, where you can view all the events you have created or are attending.
3. Locate the Event:
Scroll through the list of events until you find the specific event for which you want to change the time. Alternatively, you can use the search bar at the top of the page to search for the event by its name or keywords.
4. Edit the Event:
Click on the event to open its details page. On this page, you will find various options to edit the event's information. Look for the "Edit" or "Edit Event" button, usually located near the top right corner of the page. Click on this button to proceed.
5. Modify the Event Time:
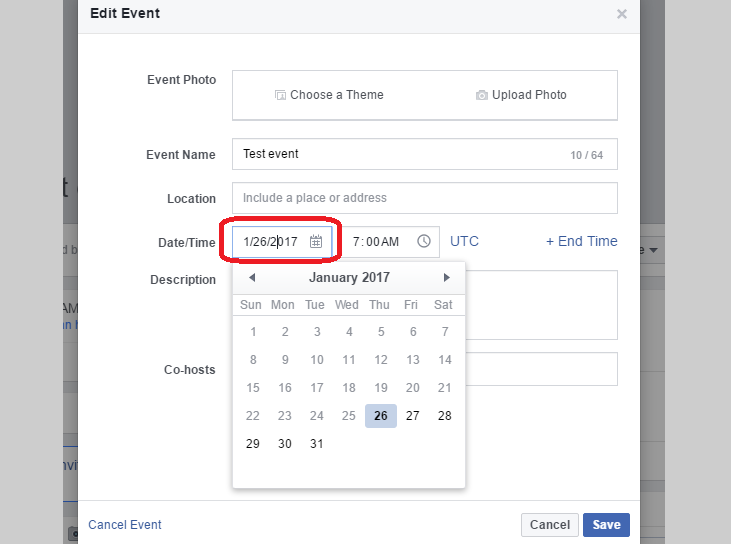
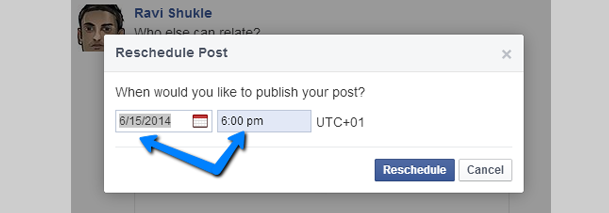
Once you are in the event editing mode, locate the field that displays the current event time. It may be labeled as "Event Time" or similar. Click on this field to enable editing. You can now modify the date and time according to your desired changes.
6. Save the Changes:
After making the necessary modifications to the event time, review the changes to ensure accuracy. Double-check the date, start time, and end time. Once you are satisfied with the changes, click on the "Save" or "Update" button to save the updated event information.
7. Notify Attendees (Optional):
If you wish to notify the event attendees about the time change, consider posting a comment or sending a message within the event page. This will help ensure that everyone is aware of the updated time and can adjust their schedules accordingly.
8. Confirm the Changes:
After saving the changes, return to the event details page to verify that the updated time is displayed correctly. Take a moment to review the event information to ensure all other details are accurate and up-to-date.
9. Communicate Any Further Updates:
If there are any additional changes or updates related to the event, such as venue or agenda modifications, make sure to communicate those changes through appropriate channels. This could include posting updates within the event page, sending notifications, or contacting attendees directly.
10. Regularly Review and Manage Your Events:
As the event approaches, continue to monitor the event page for any questions, comments, or changes from attendees. Stay proactive in managing the event to ensure a smooth and successful experience for everyone involved.

Change the time of an event on facebook
Changing the time of an event on Facebook involves accessing your Facebook account, navigating to the Events page, locating the specific event, editing the event details, modifying the event time, saving the changes, notifying attendees if necessary, confirming the updated time, communicating any further updates, and regularly reviewing and managing your events. By following these steps, you can easily adjust the time of your Facebook event and keep all attendees informed.