How to Add Date and Time on Text Messages in Android: A Comprehensive Guide
In this digital age, sending text messages has become an essential part of our daily communication. Often, we find ourselves exchanging important information through texts, and knowing the exact time and date when a message was sent or received can be crucial. However, not all Android messaging apps display this information by default. If you're wondering how to put the date and time on text messages on your Android device, you've come to the right place. This comprehensive guide will walk you through the process step-by-step.
I. Understanding the Importance of Timestamps
Before we delve into the technical aspects, let's explore why having timestamps on text messages is essential. Timestamps provide valuable context, helping you track the sequence of conversations, ensuring you don't miss any crucial information, and aiding in troubleshooting if there are any communication issues. Let's move on to the methods to enable timestamps.
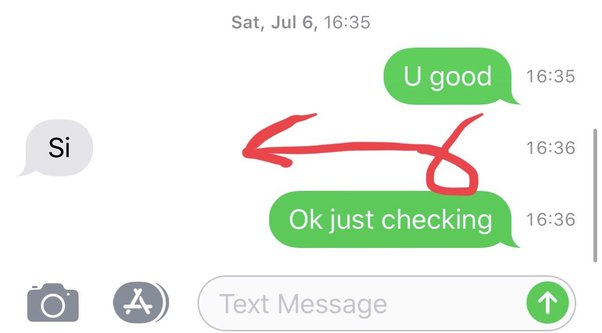
Timestamps
II. Enabling Timestamps on Android Stock Messaging App
1. Open your Stock Messaging App: Locate and open the default messaging app on your Android device. Typically, it has an icon with a green speech bubble.

Open your Stock Messaging App
2. Access Settings: Tap on the three-dot menu or gear icon to access the messaging app's settings.
3. Enable Timestamps: Look for the "Timestamps" or "Date and Time" option in the settings menu. Toggle the switch to enable the display of timestamps on your text messages.
III. Using Third-Party Messaging Apps
If your stock messaging app doesn't offer the timestamp feature or you prefer using third-party apps, there are plenty of messaging apps available on the Google Play Store that offer more customization options.
1. Choose and Install a Third-Party App: Go to the Google Play Store and search for messaging apps that include timestamps in their features. Install your preferred app.
2. Set up the App: Follow the app's on-screen instructions to set it as your default messaging app or grant it necessary permissions.
3. Enable Timestamps: Once the app is set up, access its settings and find the option to enable timestamps or customize the appearance of timestamps to your liking.
IV. Timestamps in Group Chats
Group chats can get busy, and keeping track of messages can be challenging. Here's how to enable timestamps in group chats:
1. Open the Group Chat: Launch your messaging app and open the group chat you want to enable timestamps for.
2. Access Group Info: Look for the "Group Info" or "Group Settings" option. It is usually available in the top-right corner or under the three-dot menu.
3. Enable Timestamps: In the Group Info or Settings, find the option related to timestamps and activate it.
V. Troubleshooting Timestamp Issues
If you encounter any problems with timestamps not displaying correctly or not showing up at all, try these troubleshooting tips:
1. Update the Messaging App: Ensure you have the latest version of your messaging app installed from the Google Play Store.
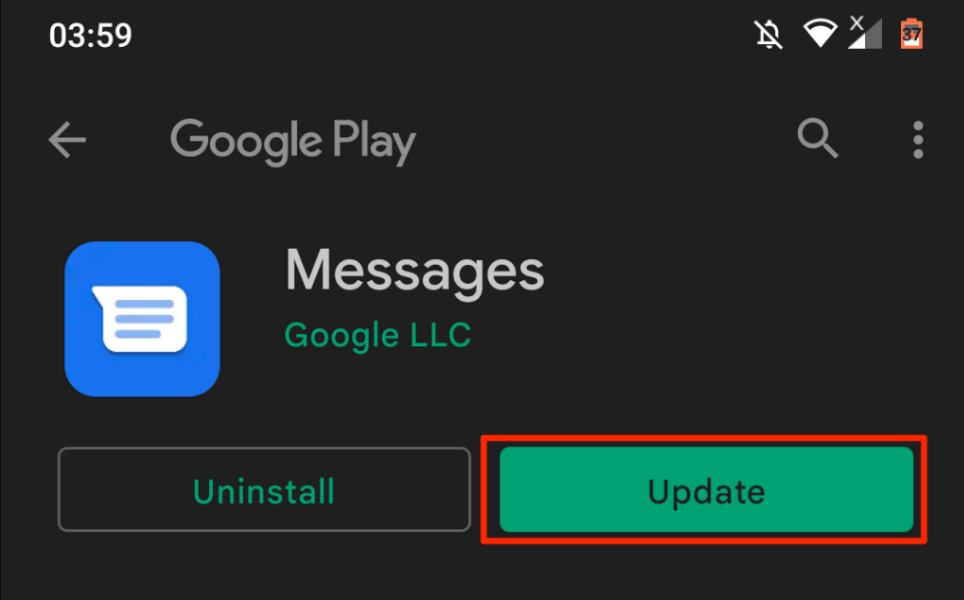
Update the Messaging App
2. Clear App Cache: Go to your device's settings, find the app manager, and clear the cache for your messaging app.
3. Restart the App: Close the messaging app and restart it to see if the timestamps appear correctly.
VI. Conclusion
Having timestamps on your text messages can greatly improve your communication experience, making it easier to manage conversations and keep track of important information.
Whether you use the default stock messaging app or opt for a third-party alternative, enabling timestamps is a straightforward process. Follow the steps outlined in this guide, and you'll be able to put date and time on text messages on your Android device with ease. Stay organized and keep those conversations flowing seamlessly. Happy texting!