Sterilizing a Sinus Rinse Bottle in the Microwave: A Step-by-Step Guide
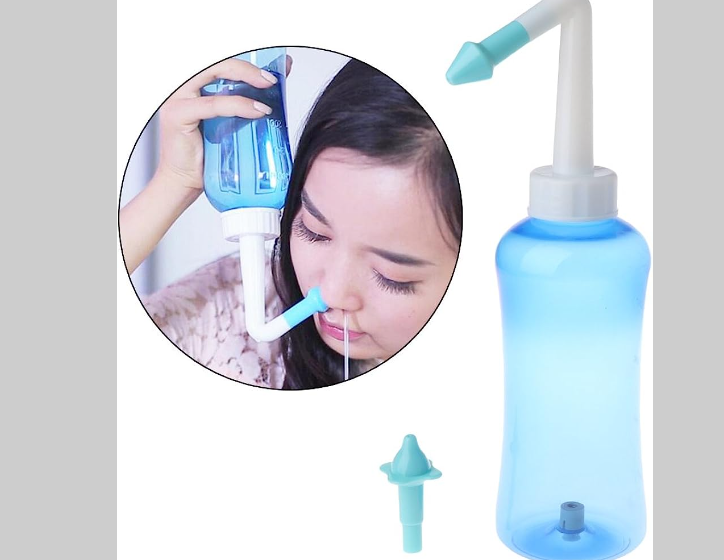
A sinus rinse bottle is a handy tool for those seeking relief from sinus congestion and allergies. To ensure proper hygiene and prevent the growth of bacteria, it's important to sterilize your sinus rinse bottle regularly. In this article, we will guide you through the process of sterilizing your sinus rinse bottle using a microwave. Follow these simple steps to maintain a clean and safe sinus rinse routine.

How to sterilize sinus rinse bottle in microwave?
Step 1: Gather Your Supplies
Before you begin, make sure you have the following supplies ready:
-
Sinus rinse bottle: Ensure you have a microwave-safe bottle specifically designed for sinus rinsing. These bottles are typically made of plastic or silicone.
-
-
Distilled water: It's important to use distilled water to avoid introducing impurities into your sinuses.
-
-
Microwave-safe container: Find a microwave-safe container that is large enough to hold the sinus rinse bottle without any spills.
-
Step 2: Disassemble the Sinus Rinse Bottle
Carefully disassemble the sinus rinse bottle according to the manufacturer's instructions. This usually involves separating the bottle from the cap and any additional attachments, such as the nozzle or filter.
Step 3: Rinse Thoroughly
Rinse all the components of the sinus rinse bottle under warm running water. Use mild soap to clean the bottle, cap, and any other detachable parts. Make sure to remove any residue or debris.
Step 4: Prepare the Microwave-Safe Container
Fill the microwave-safe container with enough distilled water to submerge the sinus rinse bottle completely. This will help ensure effective sterilization.
Step 5: Submerge the Sinus Rinse Bottle
Place the disassembled sinus rinse bottle, along with its components, into the container filled with distilled water. Make sure all parts are fully submerged.
Step 6: Microwave the Container
Carefully place the container with the sinus rinse bottle in the microwave. Set the microwave to high power and heat the water for approximately 2-3 minutes. The exact time may vary depending on your microwave's power.
Step 7: Allow Cooling and Drying
Once the microwave cycle is complete, carefully remove the container from the microwave using oven mitts or a towel, as it may be hot. Allow the water and the sinus rinse bottle to cool down for a few minutes.
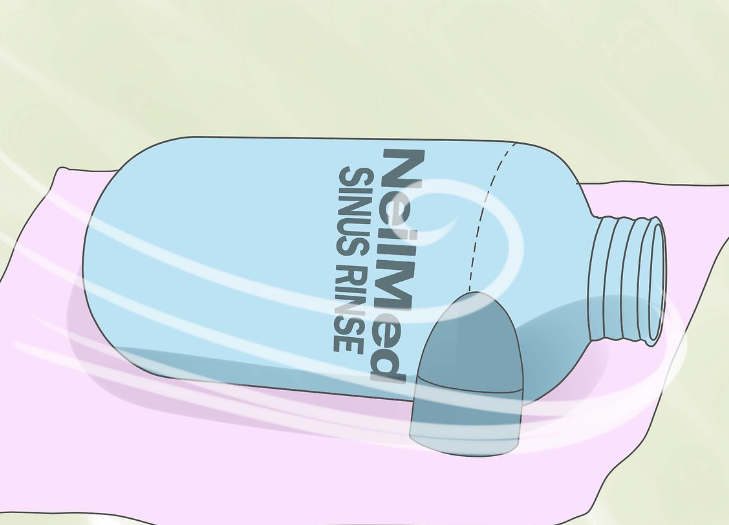
After cooling, remove the sinus rinse bottle from the water and place it on a clean towel or paper towel to air dry. Avoid wiping the bottle with a cloth, as it may introduce lint or other particles.
Step 8: Reassemble and Store
Once the sinus rinse bottle and its components are completely dry, reassemble them according to the manufacturer's instructions. Ensure that all parts fit snugly and securely.
Store the sterilized sinus rinse bottle in a clean and dry location, away from direct sunlight and moisture, until the next use.

A sinus rinse bottle
Sterilizing your sinus rinse bottle is an essential step in maintaining proper hygiene and preventing the growth of bacteria. By following these simple steps and using a microwave to sterilize your sinus rinse bottle, you can ensure a clean and safe sinus rinsing experience. Regular sterilization will help keep your sinuses clear and reduce the risk of infection. Remember to always consult the manufacturer's instructions for your specific sinus rinse bottle and exercise caution when handling hot water or using a microwave.