How Do You Scald Milk: A Step-by-Step Guide
Scalding milk is a traditional cooking technique that involves heating milk to just below its boiling point. This process was historically used to kill bacteria and enzymes in raw milk, but even with pasteurized milk today, scalding can still improve the texture and flavor of certain recipes. In this guide, we'll explain why you might need to scald milk, provide a detailed step-by-step process, and offer some useful tips to ensure you do it correctly.
Why Scald Milk?
a. Enhances Recipes
- Bread and Dough: Scalding milk deactivates enzymes that can weaken gluten, resulting in better texture and rise in bread and dough.
- Custards and Sauces: It helps incorporate milk smoothly into recipes, preventing a grainy texture.
b. Flavor and Texture
- Improves Flavor: Scalding milk can develop a slightly sweeter, richer flavor.
- Creamy Texture: The process can help create a creamier texture in recipes such as puddings and ice creams.
c. Safety
- Eliminates Enzymes: Scalding milk ensures that any enzymes that might interfere with the setting of custards or activation of yeast are neutralized.
how do you scald milk
How to Scald Milk: Step-by-Step
Step 1: Gather Your Supplies
- Ingredients: Milk (whole, skim, or any other type)
- Equipment: Heavy-bottomed saucepan, whisk or spoon, thermometer (optional)
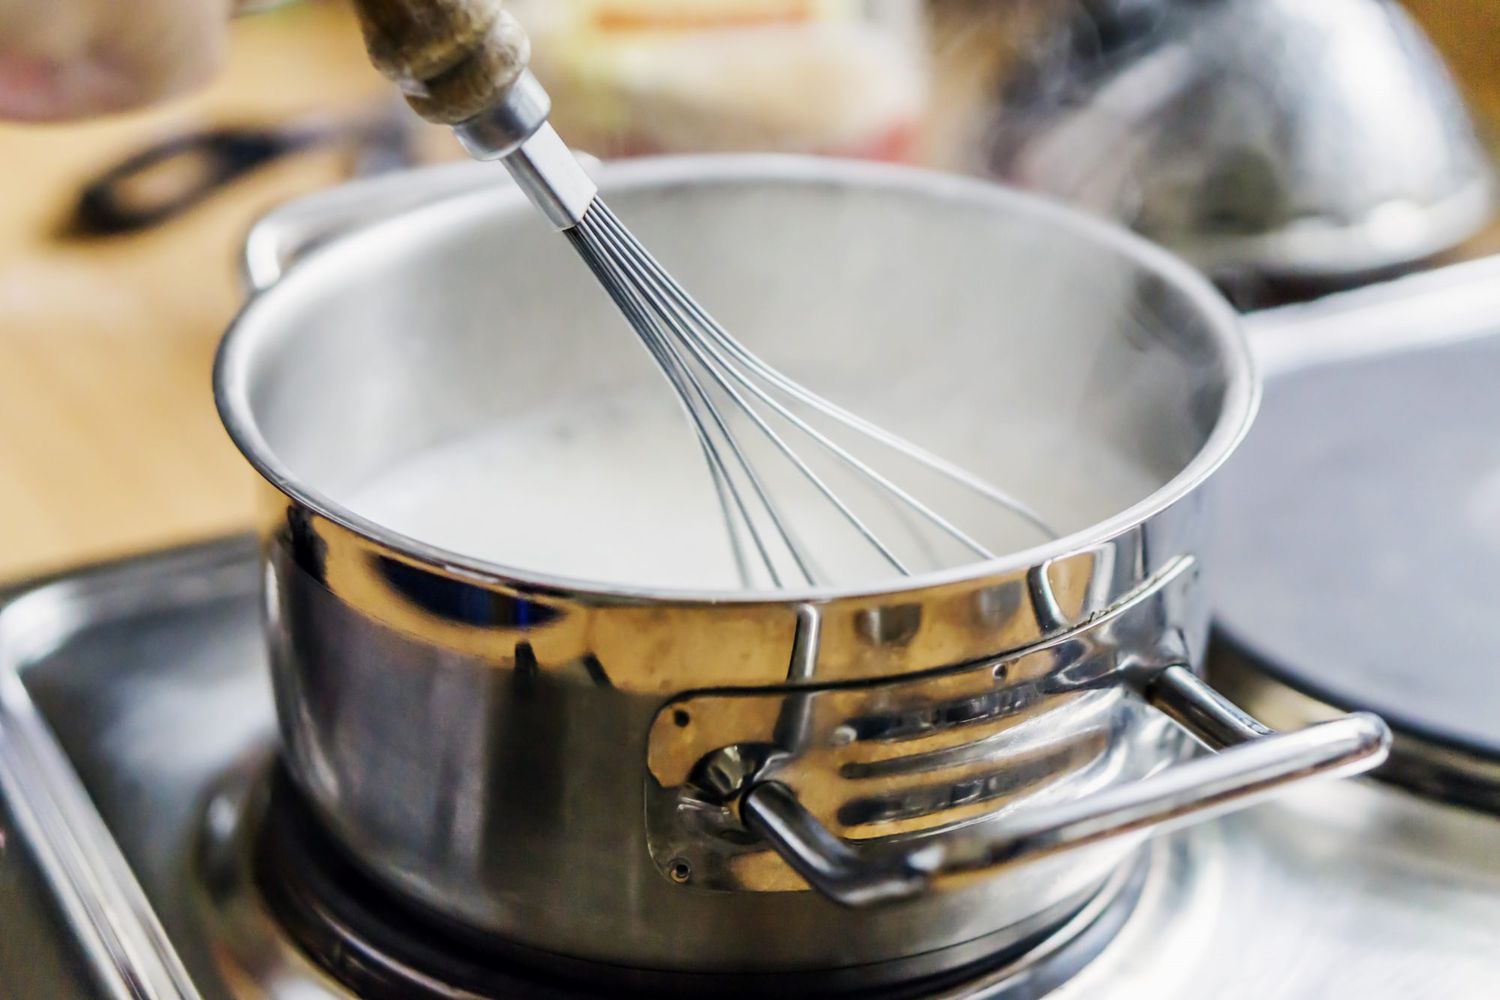
Step 2: Pour Milk into Saucepan
- Pour the desired amount of milk into a heavy-bottomed saucepan. Using a heavy-bottomed pan helps distribute heat evenly, reducing the risk of burning.
Step 3: Heat the Milk
- Medium Heat: Place the saucepan over medium heat. Do not use high heat as it can cause the milk to scorch.
- Stir Constantly: Stir the milk constantly with a whisk or spoon to prevent a skin from forming and to avoid burning at the bottom of the pan.
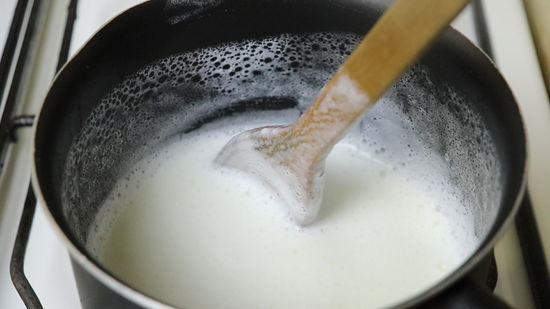
Step 4: Monitor Temperature
- Use a Thermometer: If you have a thermometer, heat the milk until it reaches 180°F (82°C). This is just below the boiling point of 212°F (100°C).
- Visual Cues: If you don't have a thermometer, watch for small bubbles forming around the edges of the pan and steam starting to rise from the surface. The milk should be hot but not boiling.
Step 5: Remove from Heat
- Once the milk reaches the desired temperature, remove it from the heat immediately. Continuing to heat can cause the milk to boil over or burn.
Step 6: Cool the Milk
- Cooling Down: Let the scalded milk cool to the desired temperature before adding it to your recipe. If using it in a yeast dough, let it cool to lukewarm (about 110°F or 43°C).
how do you scald milk
Tips for Scalding Milk
a. Avoid Boiling
- Prevent Boiling Over: Boiling milk can overflow quickly and create a mess. Keep a close eye on the milk and remove it from the heat before it reaches a boil.
b. Stirring
- Constant Stirring: Regular stirring helps distribute heat evenly and prevents the milk from burning at the bottom of the pan.
c. Skin Formation
- Prevent Skin: Stirring the milk consistently prevents the formation of a skin on the surface, which can affect the texture of your recipe.
Common Mistakes to Avoid
a. High Heat
- Using high heat can cause the milk to burn quickly. Always use medium heat and be patient.
b. Inattentiveness
- Leaving milk unattended can result in it boiling over or burning. Stay attentive and stir constantly.
c. Not Cooling Properly
- Adding hot milk directly to recipes like yeast dough can kill the yeast. Always let the milk cool to the appropriate temperature before use.
Conclusion
Scalding milk is a useful technique that can enhance the texture, flavor, and overall success of various recipes. By following these simple steps and tips, you can scald milk correctly and incorporate it into your culinary creations with confidence. Whether you're making bread, custards, or creamy sauces, scalded milk can make a significant difference in the final product.