DIY Wine Gift Bag: A Creative and Personalized Touch
Creating your own DIY wine gift bag is an excellent way to add a personal touch to your wine gift. Whether you're giving a bottle of wine for a birthday, holiday, or special occasion, a handmade gift bag can make it even more special. In this guide, we'll walk you through the steps to create a beautiful and unique wine gift bag, along with some creative ideas to personalize it.
1. Why Make a DIY Wine Gift Bag?
a. Personal Touch
- Customization: Tailor the bag to suit the recipient's tastes and the occasion.
- Creativity: Showcase your creativity and effort, making the gift more memorable.
b. Cost-Effective
- Affordable Materials: Use inexpensive materials or repurpose items you already have.
- Eco-Friendly: Create reusable gift bags to reduce waste.
2. Materials Needed
a. Basic Materials
- Fabric: Choose a sturdy fabric like canvas, burlap, or cotton. A piece measuring approximately 16x18 inches works well.
- Thread: Match the thread color to your fabric.
- Ribbon or Twine: For the bag closure.
- Scissors: Sharp fabric scissors for clean cuts.
- Sewing Machine or Needle: Depending on your sewing preference.
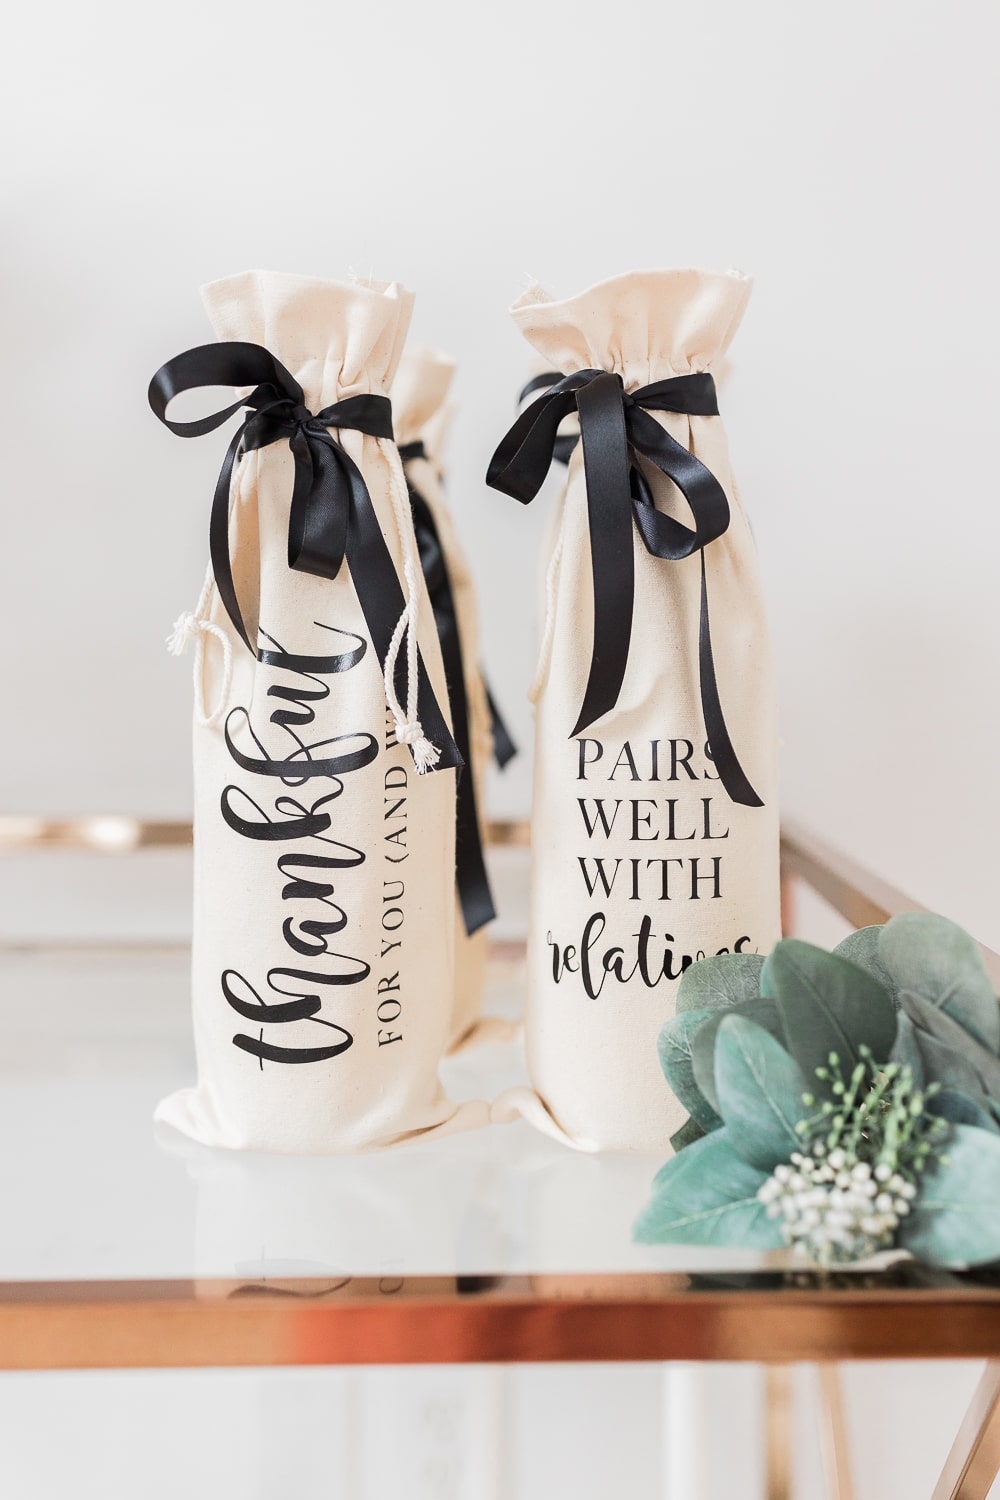
diy wine gift bag
b. Optional Decorations
- Fabric Paint or Markers: For adding designs or messages.
- Stencils: To create neat and professional-looking patterns.
- Buttons, Beads, or Patches: For additional embellishments.
- Iron-On Transfers: To add custom images or logos.
3. Step-by-Step Instructions
a. Preparing the Fabric
- Measure and Cut: Measure your fabric to approximately 16x18 inches. Cut it neatly with scissors.
- Hem the Edges: Fold over the top edge (the 16-inch side) by about 1/2 inch and iron it flat. Sew a straight line to hem the edge, creating a neat top for your bag.
b. Sewing the Bag
- Fold and Pin: Fold the fabric in half lengthwise with the right sides facing each other, making a 16x9 inch rectangle. Pin the sides together.
- Sew the Sides: Sew along the bottom and open side, leaving the hemmed top open. Use a 1/4-inch seam allowance.
- Create the Bottom: To give the bag a flat bottom, pinch each corner so that the side seam and bottom seam align, forming a triangle. Sew across the triangle about 1 inch from the tip. Trim off the excess fabric.
c. Adding the Closure
- Attach Ribbon or Twine: Cut a piece of ribbon or twine long enough to wrap around the neck of the wine bottle and tie a bow. Attach it to the back seam of the bag, just below the hem.
- Thread the Closure: If desired, create small holes on either side of the bag’s top hem to thread the ribbon or twine through for a drawstring effect.
d. Decorating the Bag
- Personalize with Paint or Markers: Use fabric paint or markers to add the recipient’s name, a festive message, or decorative patterns. Allow the paint to dry completely.
- Add Embellishments: Sew or glue on buttons, beads, or patches for additional flair.
4. Creative Ideas for Personalization
a. Themed Bags
- Holiday Themes: Use festive colors and designs for Christmas, New Year’s, or other holidays.
- Occasion-Specific: Decorate the bag for birthdays, anniversaries, or weddings with appropriate messages and images.
b. Custom Designs
- Monograms: Add the recipient’s initials for a personalized touch.
- Artwork: Draw or paint custom artwork that reflects the recipient’s interests or hobbies.
c. Reusable Options
- Durable Fabrics: Choose fabrics that will hold up over time, allowing the recipient to reuse the bag.
- Multi-Use Designs: Create a design that can be used for various occasions, making the bag a versatile gift wrap option.
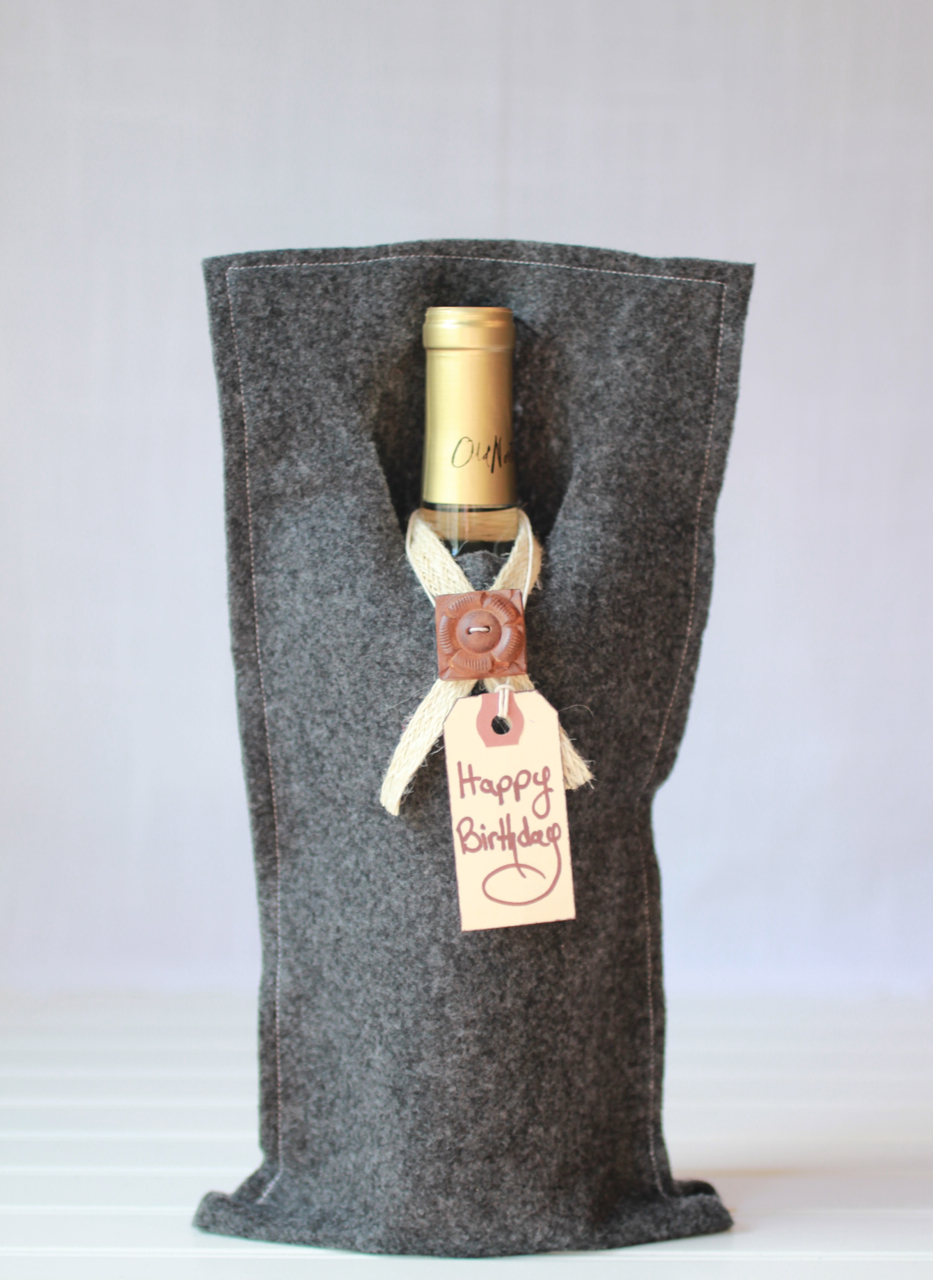
diy wine gift bag
5. Tips for a Professional Finish
a. Neat Seams
- Iron Seams: Iron your seams flat before sewing for a crisp, professional look.
- Double Stitching: Use double stitching on stress points, like corners, to ensure durability.
b. Quality Materials
- Sturdy Fabric: Choose high-quality, sturdy fabric to ensure the bag can hold the weight of a wine bottle.
- Strong Thread: Use strong thread to prevent seams from ripping.
c. Final Touches
- Press the Bag: Give the finished bag a final press with an iron to remove any wrinkles and set the seams.
- Trim Excess Threads: Carefully trim any loose threads to give the bag a clean finish.
Conclusion
Creating a DIY wine gift bag is a thoughtful and creative way to enhance your gift-giving experience. With simple materials and a little effort, you can make a beautiful, personalized wine bag that will delight any recipient. Follow this guide to craft your own unique wine gift bag and make your next wine gift truly special.