Yellow Cake Mix Peanut Butter Cookies: Easy and Delicious Recipe
Are you looking for a quick and delicious way to make peanut butter cookies? Using a yellow cake mix as the base can save you time and effort while delivering soft, flavorful cookies that everyone will love. In this guide, we'll explore the simple steps to create yellow cake mix peanut butter cookies, along with tips to enhance their flavor and texture.
1. Why Use Yellow Cake Mix?
a. Convenience
- Time-Saver: Using a cake mix cuts down on preparation time, making it an ideal choice for busy bakers.
- Minimal Ingredients: With a cake mix, you need fewer additional ingredients, simplifying the baking process.
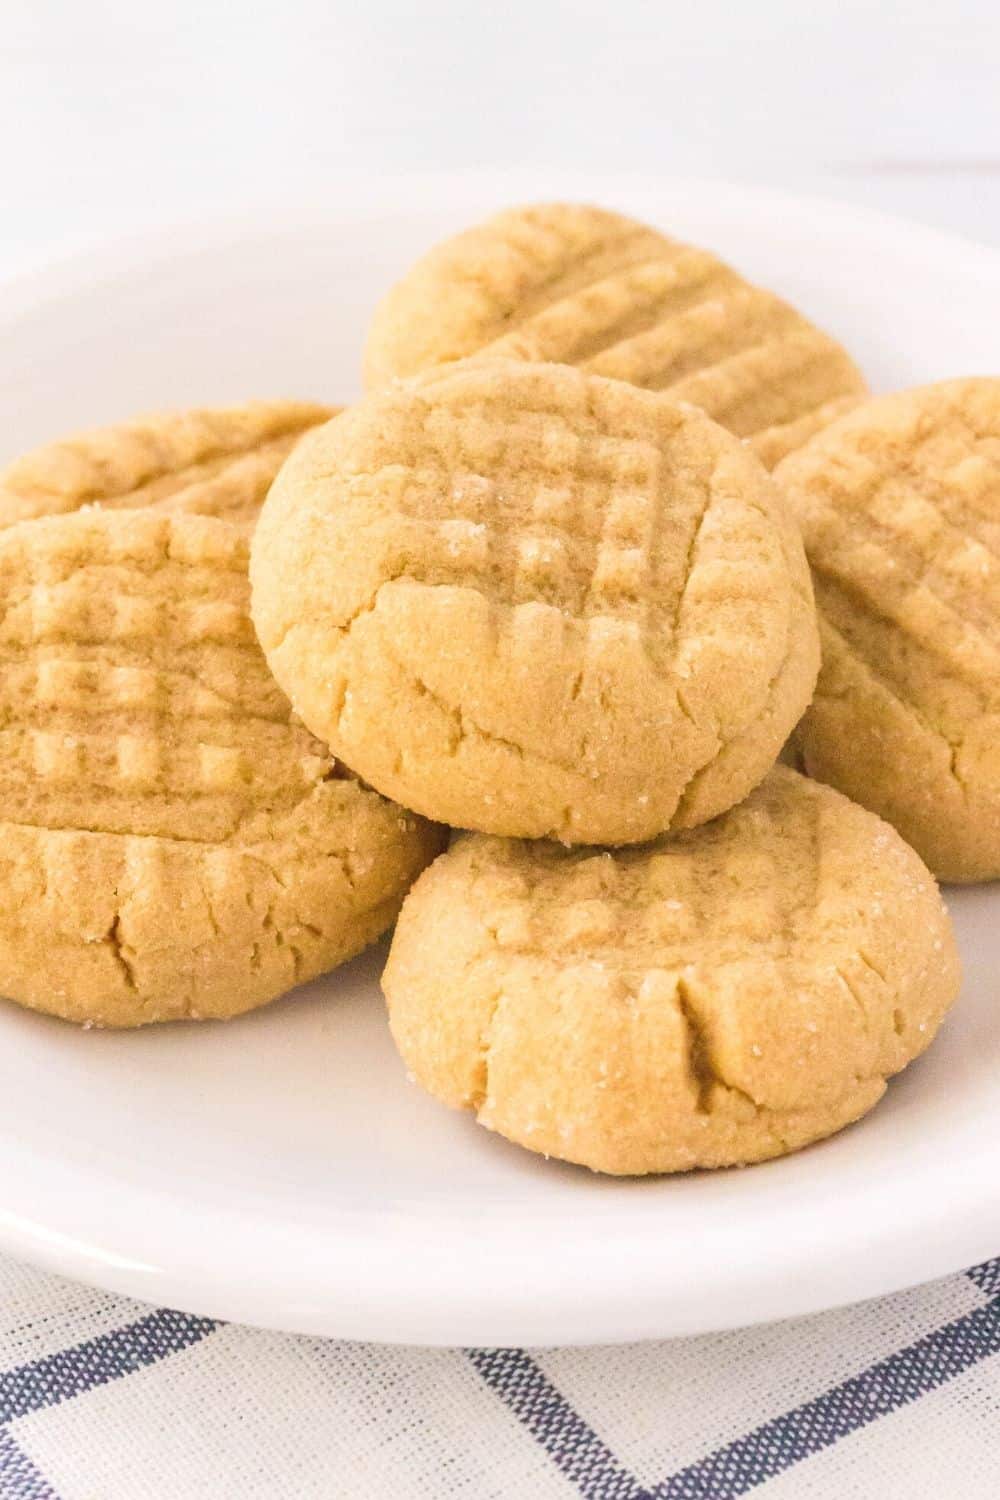
yellow cake mix peanut butter cookies
b. Consistent Results
- Reliable Texture: Cake mixes are formulated to produce consistent results, ensuring your cookies are always soft and tender.
- Enhanced Flavor: The yellow cake mix adds a subtle vanilla flavor that complements the richness of the peanut butter.
2. Ingredients Needed
a. Basic Ingredients
- Yellow Cake Mix: 1 box (about 15.25 oz)
- Peanut Butter: 1 cup (creamy or chunky, based on preference)
- Eggs: 2 large eggs
- Vegetable Oil: 1/3 cup
b. Optional Add-Ins
- Chocolate Chips: 1 cup (for a chocolatey twist)
- Peanuts: 1/2 cup, chopped (for extra crunch)
- Vanilla Extract: 1 teaspoon (to enhance flavor)
3. Step-by-Step Instructions
a. Preparation
- Preheat Oven: Preheat your oven to 350°F (175°C).
- Prepare Baking Sheets: Line baking sheets with parchment paper or lightly grease them to prevent sticking.
b. Mixing the Dough
- Combine Ingredients: In a large mixing bowl, combine the yellow cake mix, peanut butter, eggs, and vegetable oil. Mix until well blended.
- Optional Add-Ins: If desired, fold in chocolate chips, chopped peanuts, or vanilla extract to add extra flavor and texture to your cookies.
c. Shaping the Cookies
- Form Dough Balls: Use a cookie scoop or spoon to form 1-inch dough balls. Place them on the prepared baking sheets, spacing them about 2 inches apart.
- Flatten: Using a fork, gently press down on each dough ball to flatten it slightly and create a crisscross pattern.
d. Baking
- Bake: Place the baking sheets in the preheated oven and bake for 10-12 minutes, or until the edges are lightly golden.
- Cool: Remove the cookies from the oven and let them cool on the baking sheets for a few minutes before transferring them to a wire rack to cool completely.
4. Tips for Perfect Cookies
a. Achieving the Right Consistency
- Avoid Overmixing: Mix the dough just until the ingredients are combined to prevent the cookies from becoming too dense.
- Check Doneness: Keep an eye on the cookies while baking. They should be lightly golden around the edges but still soft in the center.
b. Storage and Freshness
- Storage: Store the cooled cookies in an airtight container at room temperature. They will stay fresh for up to a week.
- Freezing: To extend their shelf life, you can freeze the cookies. Place them in a single layer on a baking sheet to freeze individually, then transfer them to a freezer-safe bag or container.
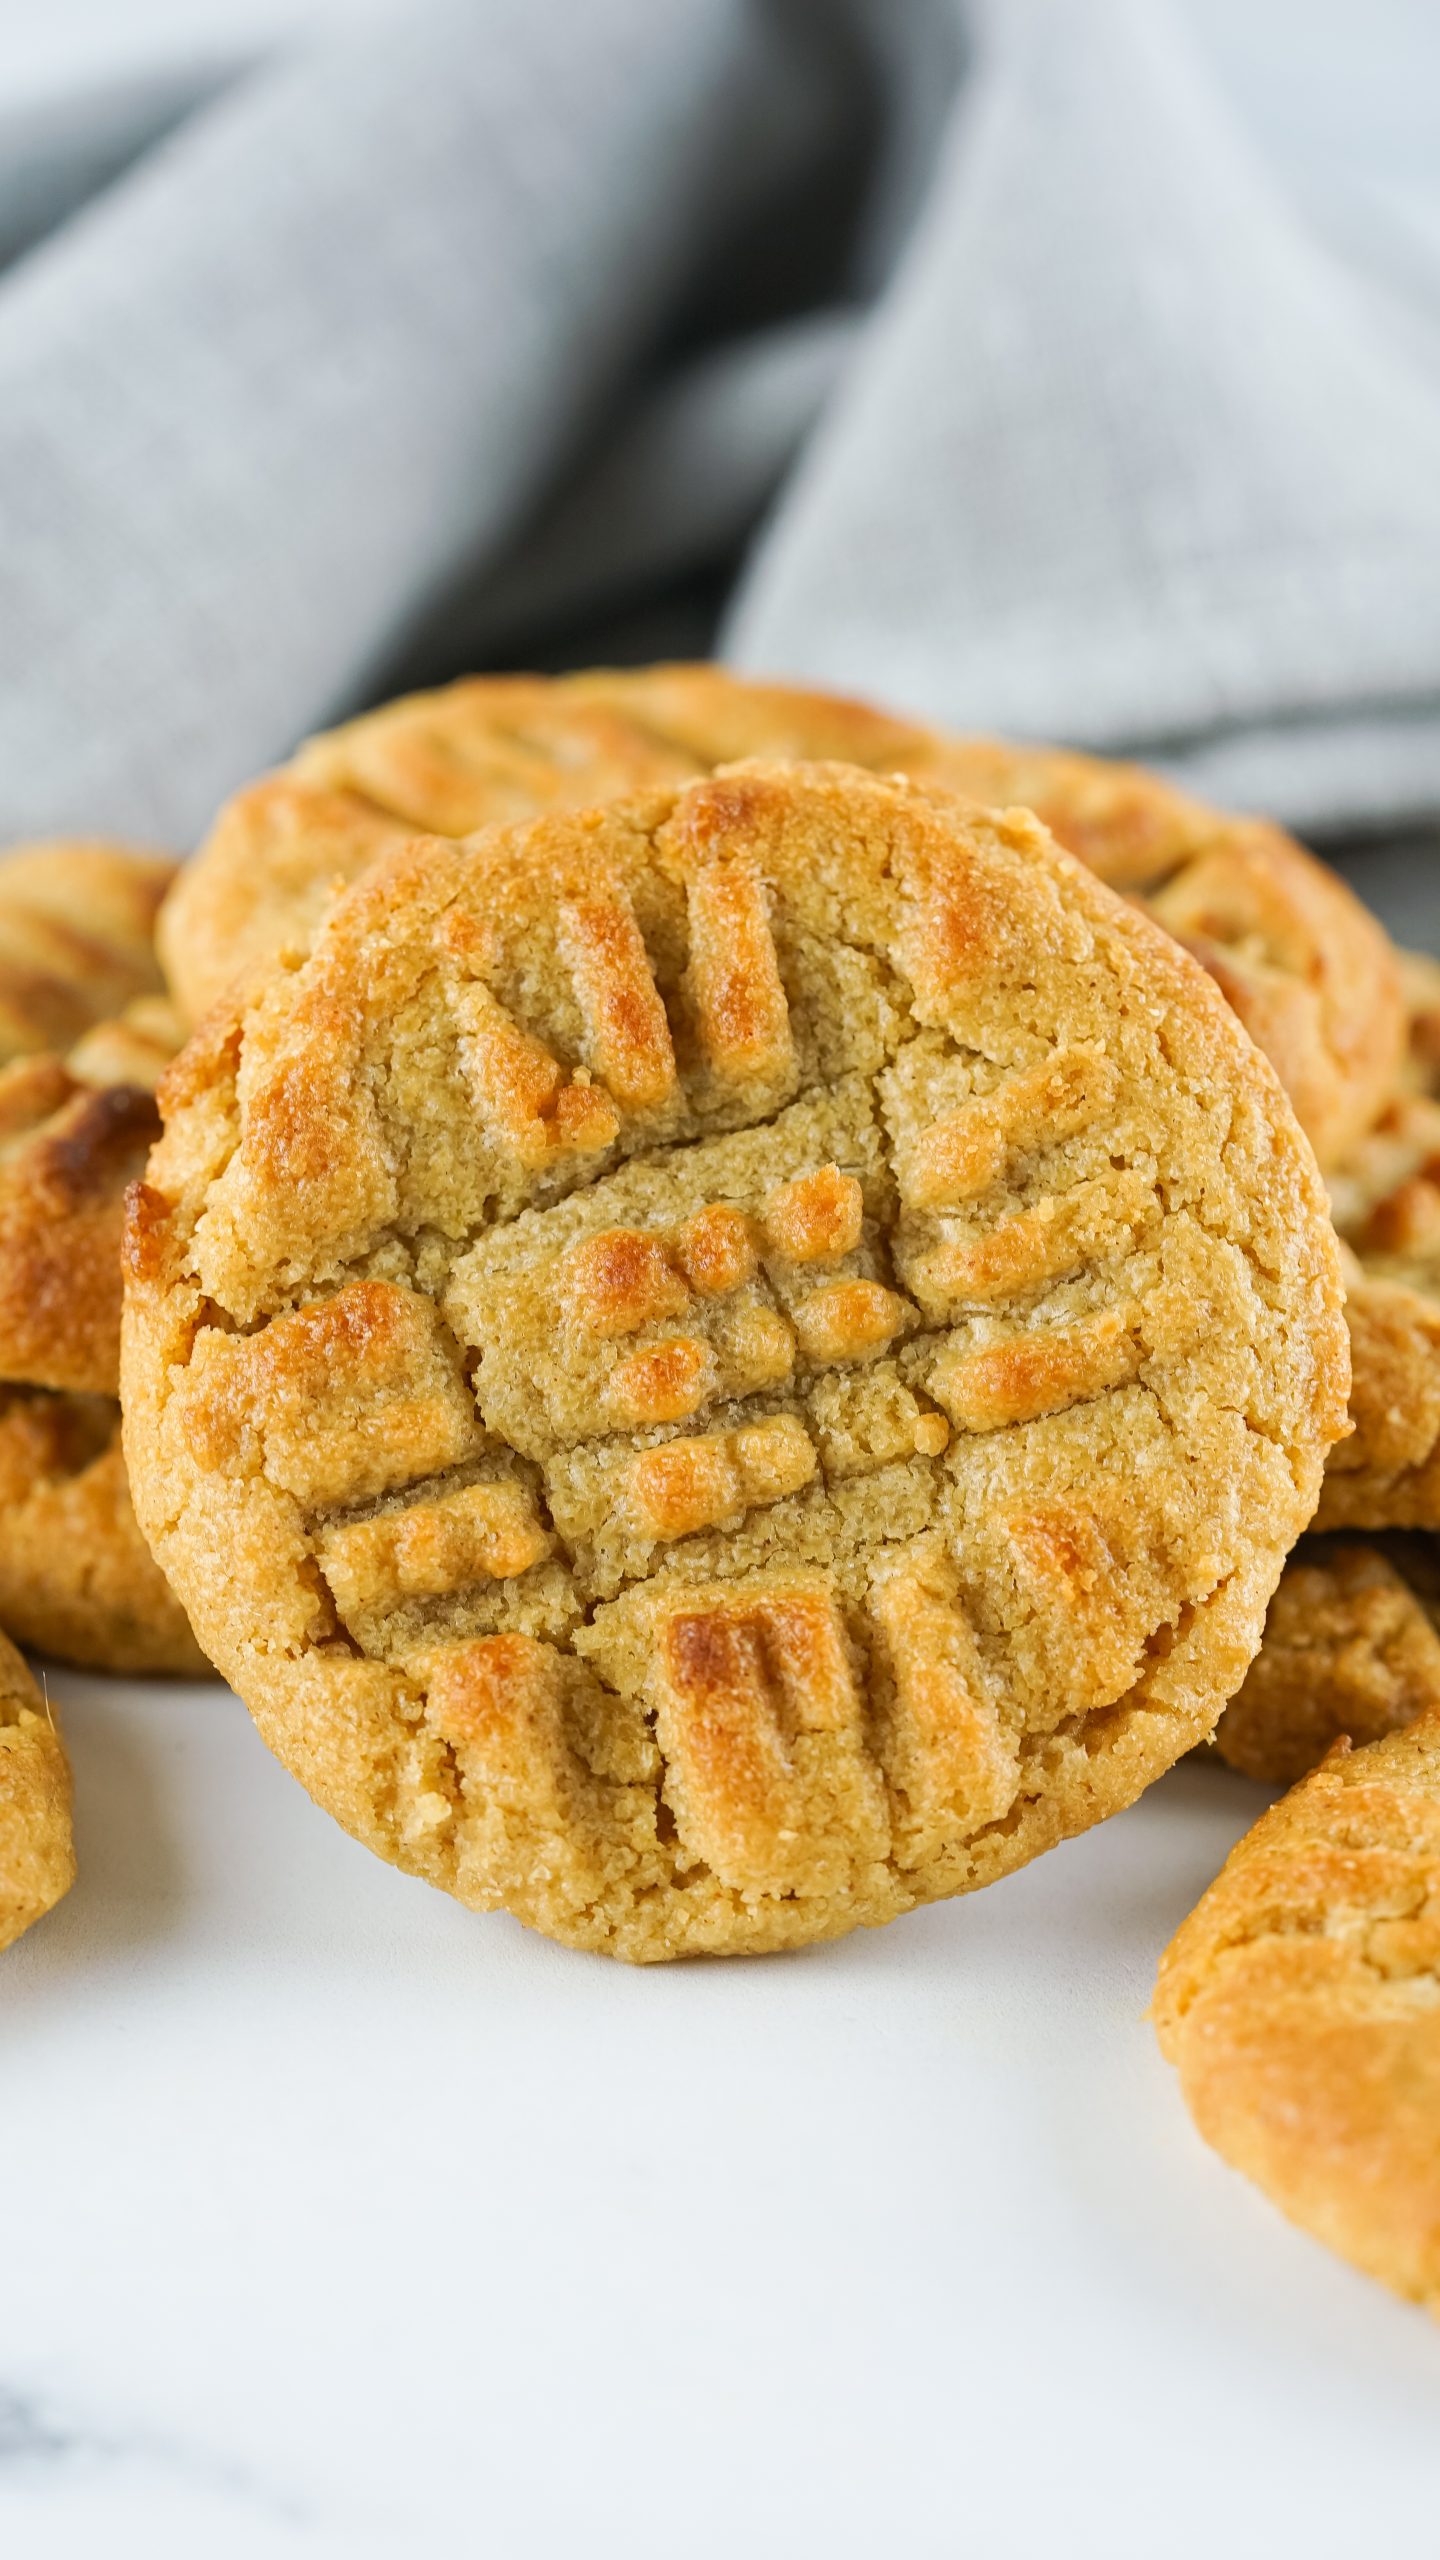
yellow cake mix peanut butter cookies
5. Variations to Try
a. Peanut Butter Blossoms
- Hershey’s Kiss Topping: Press a Hershey’s Kiss into the center of each cookie immediately after baking for a classic peanut butter blossom.
b. Sandwich Cookies
- Filling Options: Use two cookies to create a sandwich with fillings like chocolate ganache, peanut butter frosting, or marshmallow fluff.
c. Gluten-Free Option
- Gluten-Free Cake Mix: Substitute the regular yellow cake mix with a gluten-free version to accommodate dietary restrictions without compromising flavor.
Conclusion
Yellow cake mix peanut butter cookies are a quick, easy, and delicious treat that combines the convenience of a cake mix with the classic flavor of peanut butter. By following these simple steps and tips, you can create soft, flavorful cookies that are sure to be a hit at any gathering. Experiment with add-ins and variations to make this recipe your own and enjoy the delightful results.