Mastering the Art of Scalding Milk for Baking: A Step-by-Step Guide
Scalding milk is a simple yet essential technique in baking that can enhance the texture, flavor, and structure of your baked goods. Whether you're making bread, cakes, custards, or puddings, learning how to scald milk properly can take your baking skills to the next level. In this comprehensive guide, we'll walk you through the process of scalding milk and explore its benefits in baking.
1. What is Scalding Milk?
Scalding milk involves heating it to just below the boiling point, typically around 180°F (82°C). This process helps to kill any bacteria present in the milk, denature proteins, and activate enzymes that contribute to better texture and flavor in baked goods.
2. Benefits of Scalding Milk in Baking:
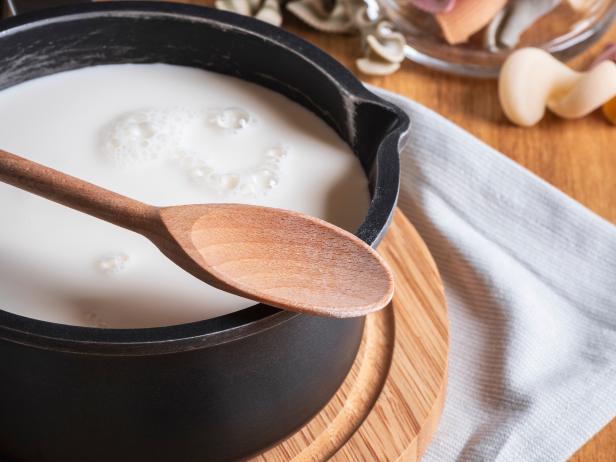
how to scald milk for baking
- Improved Texture: Scalded milk can result in baked goods with a finer, more tender crumb and a softer texture.
- Enhanced Flavor: Heating milk can enhance its natural sweetness and richness, adding depth of flavor to your recipes.
- Better Binding: Scalded milk can help proteins in the milk bind more effectively with other ingredients, leading to better structure and moisture retention in baked goods.
3. How to Scald Milk for Baking:
Step 1: Choose the Right Milk
Use fresh whole milk for the best results when scalding milk for baking. Whole milk has a higher fat content, which contributes to a richer texture and flavor in your baked goods.
Step 2: Heat the Milk
Pour the desired amount of milk into a heavy-bottomed saucepan. Place the saucepan over medium heat and slowly bring the milk to just below the boiling point, stirring occasionally to prevent scorching.
Step 3: Monitor the Temperature
Use a kitchen thermometer to monitor the temperature of the milk. Once it reaches around 180°F (82°C), remove the saucepan from the heat immediately. Avoid boiling the milk, as this can change its composition and affect the final outcome of your baked goods.
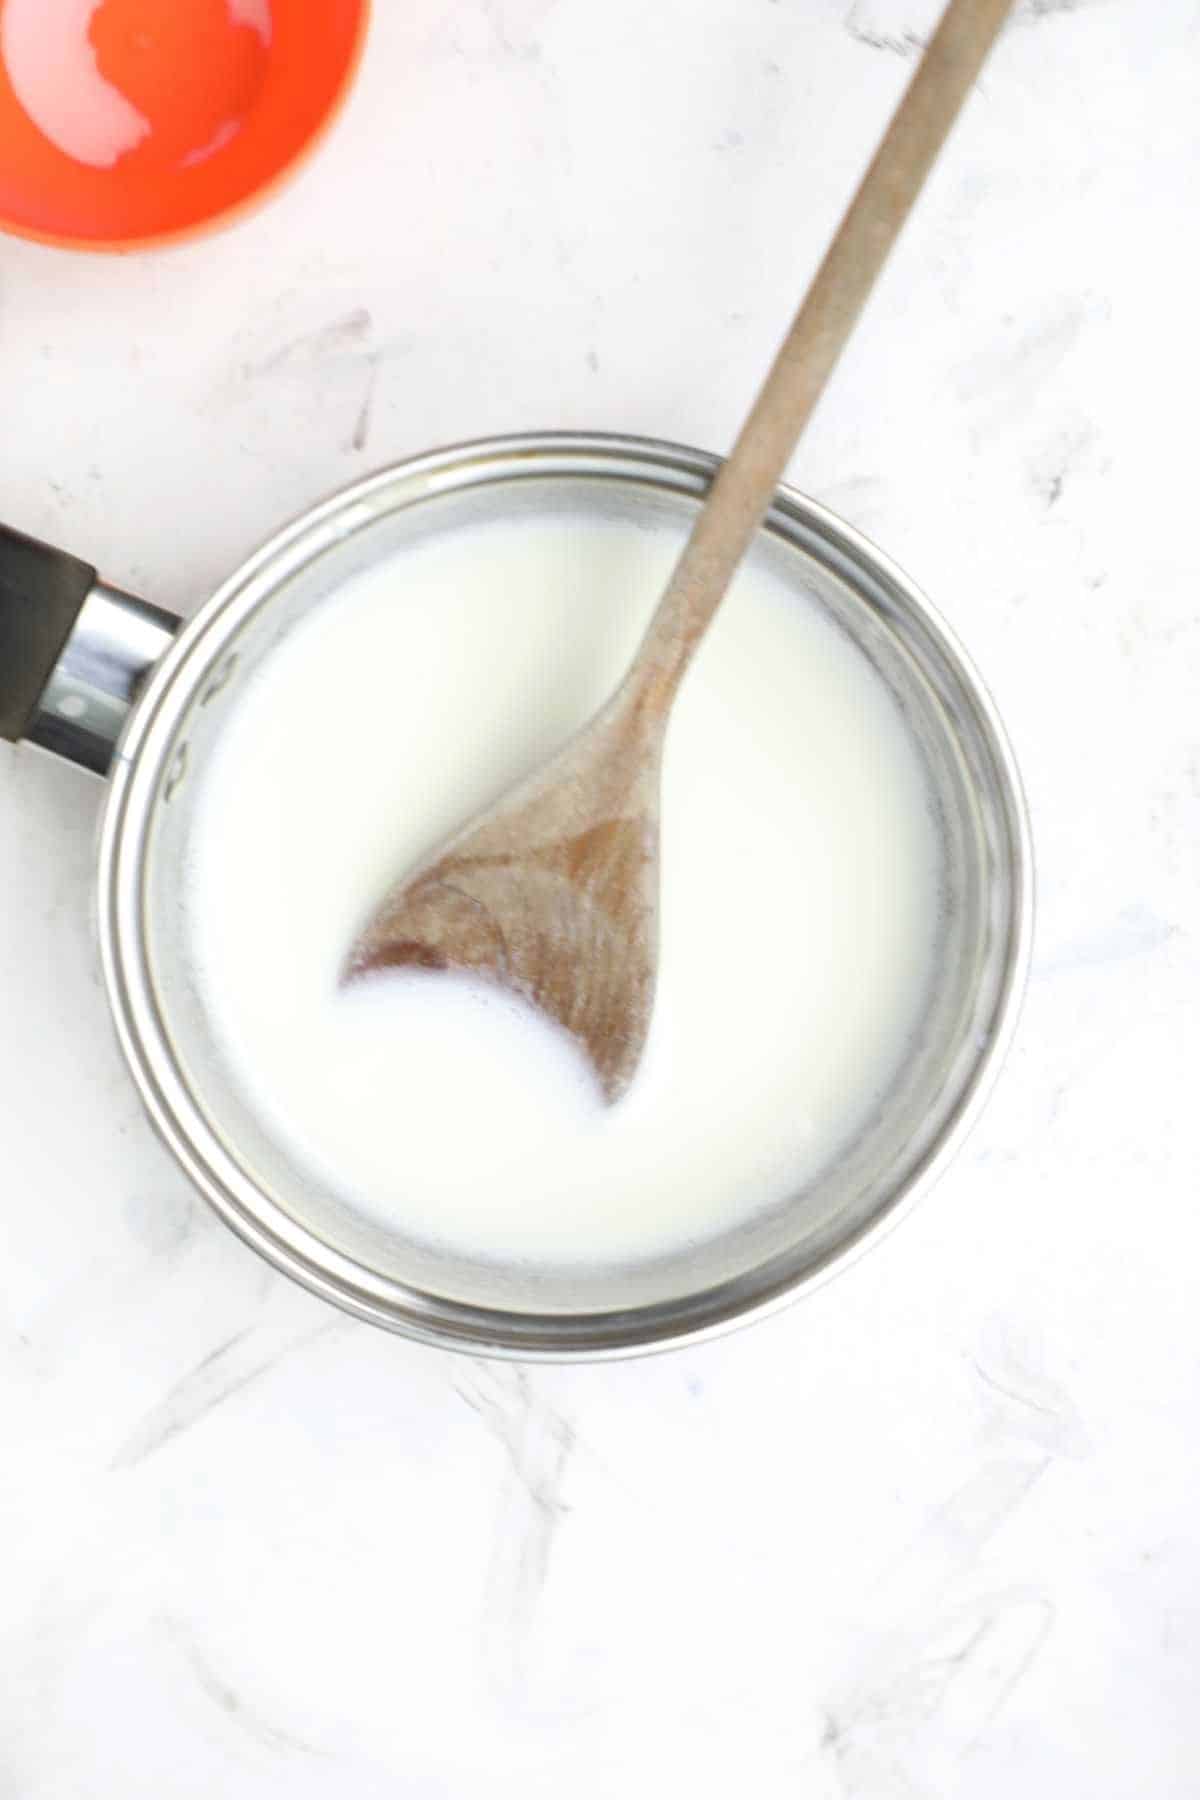
how to scald milk for baking
Step 4: Cool the Milk
Allow the scalded milk to cool to room temperature before using it in your recipes. You can speed up the cooling process by transferring the milk to a clean, heatproof container and placing it in the refrigerator for a few minutes.
Step 5: Incorporate into Recipes
Once cooled, use the scalded milk as directed in your baking recipes. It can be added to bread doughs, cake batters, custards, puddings, and more to achieve superior texture and flavor.
Conclusion:
Mastering the art of scalding milk for baking is a valuable skill that can elevate your homemade baked goods to new heights. By following these simple steps and understanding the benefits of scalded milk, you can unlock a world of possibilities in your baking endeavors. Whether you're a novice baker or a seasoned pro, incorporating scalded milk into your recipes is sure to yield delicious results every time.