How to Make Chocolate Drizzle: A Comprehensive Guide
Creating the perfect chocolate drizzle can elevate your desserts, adding a touch of elegance and delicious flavor. Whether you’re looking to enhance cakes, cookies, or even fruit, mastering the art of chocolate drizzle is essential. Here’s a clear, step-by-step guide on how to make chocolate drizzle.
Ingredients Needed
To make a basic chocolate drizzle, you'll need the following ingredients:
- Chocolate: 1 cup (semisweet, dark, or milk chocolate chips or a chopped chocolate bar)
- Heavy Cream: 1/2 cup
- Butter: 1 tablespoon (optional, for added gloss and richness)

how to make chocolate drizzle
Equipment Required
- Double Boiler or Microwave-Safe Bowl
- Heatproof Bowl
- Spoon or Whisk
- Piping Bag or Plastic Squeeze Bottle (optional)
Step-by-Step Instructions
1. Prepare the Chocolate
Start by chopping your chocolate into small, even pieces if you’re using a chocolate bar. This ensures it melts evenly. If you’re using chocolate chips, you can skip this step.
2. Heat the Heavy Cream
Pour the heavy cream into a small saucepan and heat it over medium heat until it just begins to simmer. Be careful not to let it boil. Alternatively, you can heat the cream in a microwave-safe bowl in the microwave for about 1-2 minutes.
3. Combine Chocolate and Cream
Place the chopped chocolate or chocolate chips in a heatproof bowl. Pour the hot heavy cream over the chocolate. Let it sit for about 2-3 minutes to allow the chocolate to soften.
4. Stir Until Smooth
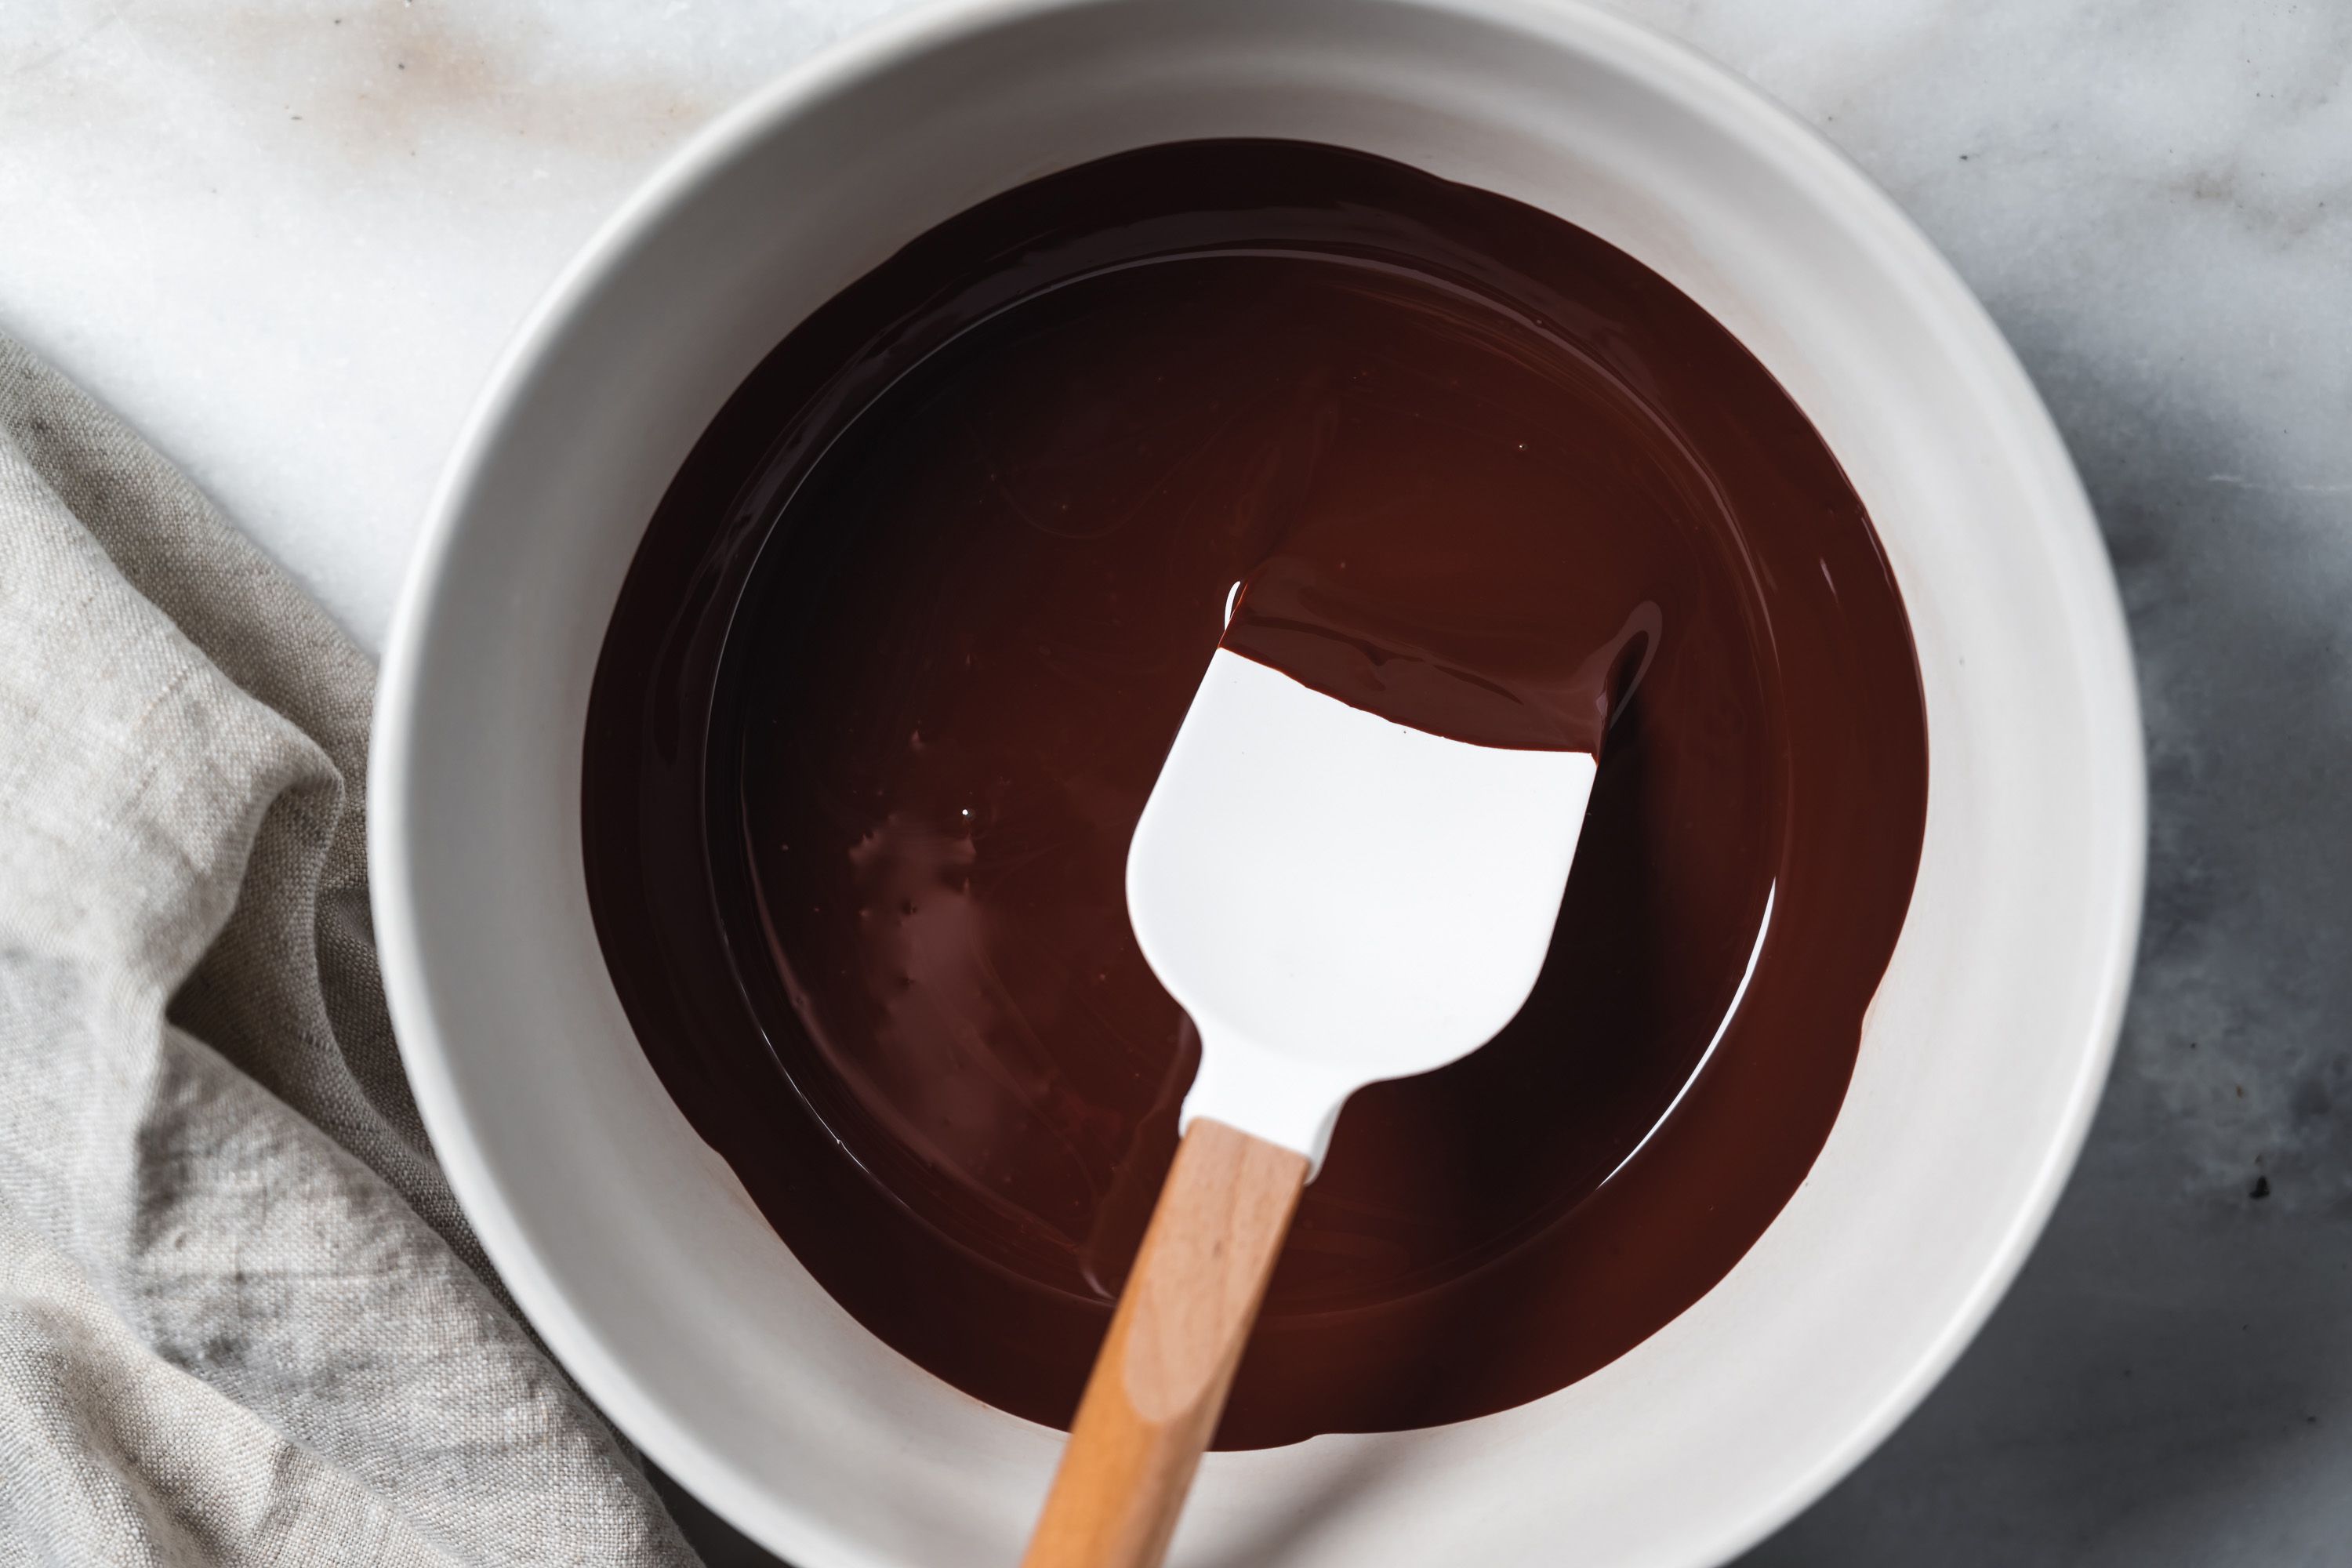
After the chocolate has softened, use a spoon or whisk to stir the mixture until it’s smooth and shiny. If you’re using butter for added gloss, add it now and stir until it’s fully incorporated.
5. Melt Using a Double Boiler (Optional)
If you prefer, you can melt the chocolate using a double boiler. Place a heatproof bowl over a pot of simmering water (make sure the bottom of the bowl does not touch the water). Add the chocolate and butter (if using) to the bowl and stir until completely melted and smooth.
6. Let the Mixture Cool Slightly
Allow the chocolate mixture to cool for a few minutes. It should still be pourable but not too hot to handle. This makes it easier to control when drizzling.

how to make chocolate drizzle
Applying the Chocolate Drizzle
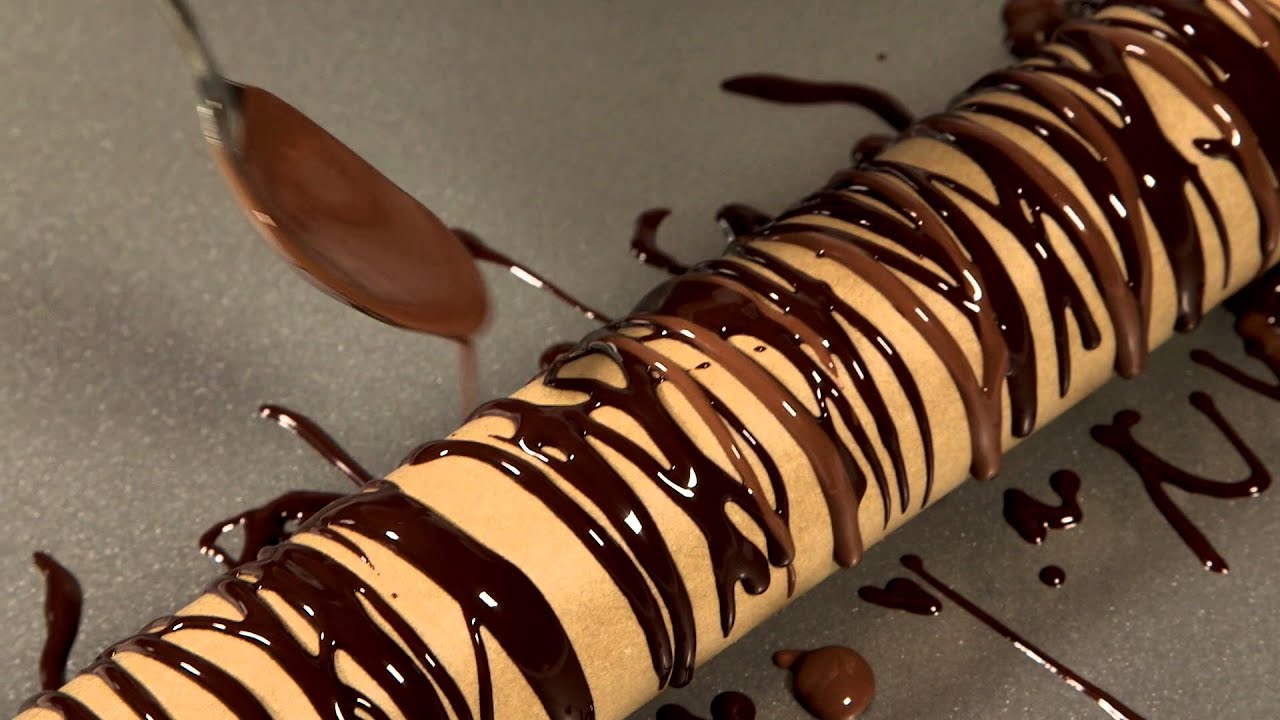
Method 1: Using a Spoon
- Dip a Spoon: Dip a spoon into the melted chocolate.
- Drizzle Over Dessert: Hold the spoon over your dessert and gently flick your wrist back and forth to create a drizzle pattern.
Method 2: Using a Piping Bag
- Fill the Piping Bag: Pour the melted chocolate into a piping bag or a plastic squeeze bottle.
- Cut a Small Tip: Cut a small tip off the piping bag for better control.
- Drizzle Over Dessert: Squeeze the piping bag gently to drizzle the chocolate over your dessert in a zigzag or circular pattern.
Method 3: Using a Fork
- Dip a Fork: Dip a fork into the melted chocolate.
- Drizzle Over Dessert: Hold the fork over your dessert and move it back and forth to create thin lines of chocolate.
Tips for Perfect Chocolate Drizzle
- Use High-Quality Chocolate: High-quality chocolate melts more smoothly and tastes better.
- Don’t Overheat: Overheating can cause the chocolate to seize, making it grainy.
- Practice Your Technique: Practice drizzling on parchment paper before applying to your dessert for better control.
- Temperature Control: Ensure the chocolate is warm enough to pour but not too hot to melt your dessert.
Storing and Reheating Chocolate Drizzle
- Storing: If you have leftover chocolate drizzle, store it in an airtight container at room temperature for up to two days or in the refrigerator for up to a week.
- Reheating: Gently reheat the chocolate in a microwave-safe bowl in 15-second intervals, stirring between each interval until smooth.
Conclusion
Learning how to make and apply chocolate drizzle can enhance your desserts with a professional touch. By following these steps and tips, you’ll be able to create beautiful and delicious chocolate drizzles for any occasion. Whether you’re decorating cakes, cookies, or other treats, mastering this technique is a valuable skill for any home baker. Enjoy the process and the delightful results!