How to Fade Out Music in iMovie: Step-by-Step Guide
iMovie is a popular video editing software for Mac users that offers a wide range of features to enhance your videos. One such feature is the ability to fade out music, which can create a smooth and professional transition between scenes. In this article, we will provide a step-by-step guide on how to fade out music in iMovie, allowing you to add an artistic touch to your videos. So let's get started!
1. Step 1: Launch iMovie and Import Your Project

Launch iMovie and Import Your Project
Before you can fade out your music, you need to have a project open in iMovie. Launch the iMovie application and either create a new project or open an existing one. Once your project is open, import the video clip or audio file that contains the music you want to fade out.
2. Step 2: Add the Music to the Timeline
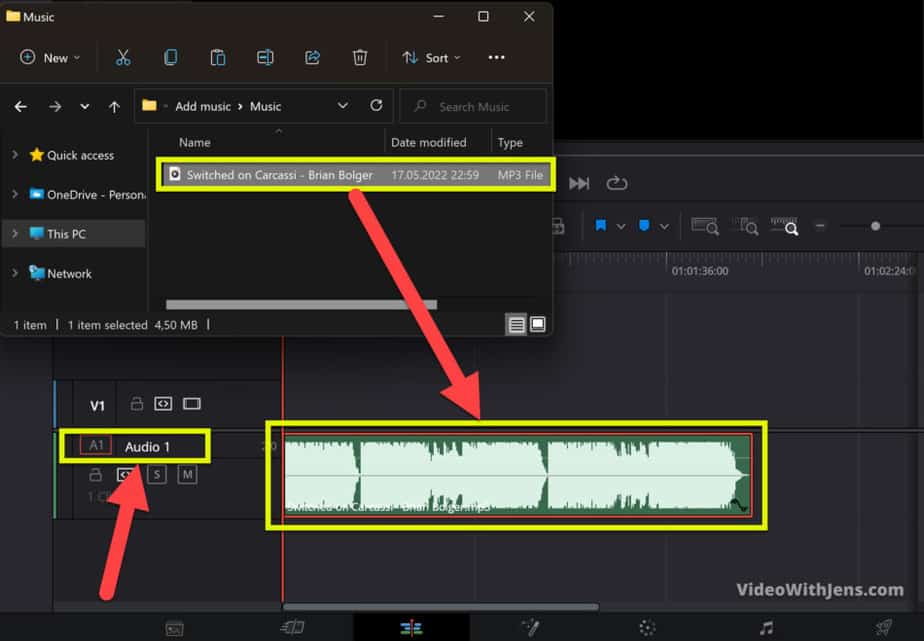
Add the Music to the Timeline
To begin editing the music, you need to add it to the timeline. Locate the music file in the media browser or the project media pane, and then drag it to the timeline below your video clips. Make sure the music file is positioned at the desired starting point.
3. Step 3: Adjust the Music Clip
Now it's time to adjust the music clip to create the fade-out effect. Click on the music clip in the timeline to select it, and then click on the "Audio Adjustments" button in the toolbar. This will open the audio adjustments panel on the right side of the iMovie interface.
4. Step 4: Apply the Fade-Out Effect
In the audio adjustments panel, you will find various controls to modify your music clip. To fade out the music, locate the "Fade Out" option and adjust the slider to increase or decrease the duration of the fade-out effect. Preview the changes in real-time to ensure the desired result.
5. Step 5: Fine-Tune the Fade-Out Effect
If the default fade-out effect doesn't meet your requirements, you can further fine-tune it. Below the fade-out slider, you will find additional controls such as fade shape, fade range, and fade curve. Experiment with these settings to achieve the desired fade-out effect for your music.
6. Step 6: Preview and Adjust as Needed
After applying the fade-out effect, it's essential to preview the video to ensure everything looks and sounds the way you intended. Play the video from the beginning and observe the fade-out effect in action. If necessary, make any additional adjustments to the music clip or the fade-out settings.
7. Step 7: Export Your Video
Once you're satisfied with the fade-out effect, it's time to export your video. Click on the "File" menu in the iMovie toolbar and select the "Share" option. Choose your preferred export settings, such as resolution and file format, and then click "Next" to proceed. Finally, select a destination folder and click "Save" to export your video with the fade-out effect intact.
Fading out music in iMovie is a straightforward process that can greatly enhance the overall quality of your videos. By following the step-by-step guide provided in this article, you can easily add a professional touch to your video projects. Experiment with different fade-out settings and unleash your creativity to create stunning videos with smooth transitions. So go ahead and start incorporating fade-out effects into your iMovie projects to take your video editing skills to the next level!