How to Delete a Life360 Circle: Step-by-Step Guide
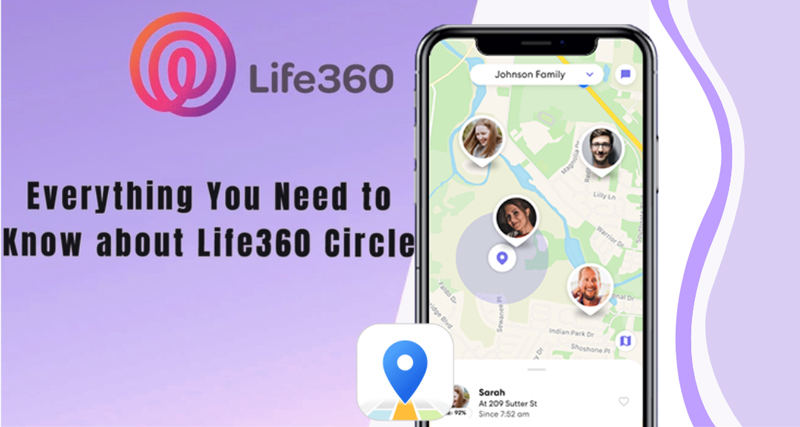
Life360 is a popular family tracking and location-sharing app that allows users to stay connected with their loved ones. If you no longer want to be a part of a Life360 circle or need to remove a circle you have created, it's important to know the process of deleting a Life360 circle. In this article, we will provide you with a step-by-step guide on how to delete a Life360 circle, ensuring a smooth and hassle-free experience.
1. Understanding Life360 Circles:

Life360 Circles
Life360 circles are groups created within the app that consist of family members or trusted individuals. Circles enable members to share their real-time locations, communicate, and receive notifications about each other's activities.
Deleting a circle means removing yourself or others from the group and revoking access to location sharing and other circle features.
2. Reasons for Deleting a Circle:
There can be various reasons for wanting to delete a Life360 circle. You may no longer want to be part of a circle due to privacy concerns, changes in relationships, or personal preferences.
Alternatively, you may need to remove a circle you have created because it is no longer relevant or necessary. Whatever the reason, deleting a circle gives you control over your privacy and circle participation.
3. Launch the Life360 App:

Life360 App
To delete a Life360 circle, start by launching the Life360 app on your mobile device. Ensure that you are logged in with the account associated with the circle you wish to delete.
The app is available for both Android and iOS devices and can be downloaded from their respective app stores.
4. Access the Circle Settings:
Once you have launched the app and logged in, navigate to the main screen, which displays the list of circles you are a member of or have created. Tap on the circle you want to delete to access its settings.
The settings menu allows you to manage various aspects of the circle, including members and permissions.
5. Remove Circle Members:
To delete a Life360 circle, you must first remove all the members from the circle. In the circle settings menu, locate the section that lists the members of the circle.
Tap on each member's name and select the option to remove them from the circle. Repeat this process until all members have been removed.
6. Leave the Circle:
Once you have removed all members from the circle, you will need to leave the circle yourself.
In the circle settings menu, find the option to leave the circle. Confirm your decision to leave, and you will be removed from the circle as well.
7. Confirm Circle Deletion:
After you have left the circle, the Life360 app may prompt you to confirm the deletion of the circle.
This is an additional step to ensure that you want to proceed with deleting the circle. Confirm your decision, and the circle will be permanently deleted from your Life360 account.
8. Communication with Other Circle Members:
If you are deleting a circle that you have created, it's important to communicate with the other members beforehand. Let them know about your decision and any alternative arrangements for staying connected if necessary.
Open and transparent communication can help avoid confusion and maintain healthy relationships.
9. Adjusting Privacy Settings:
After deleting a Life360 circle, you may want to review and adjust your privacy settings within the app.
Ensure that your location sharing preferences, notification settings, and other privacy-related configurations align with your desired level of privacy and comfort.
Deleting a Life360 circle is a straightforward process that involves removing all members from the circle and leaving the circle yourself. By following the step-by-step guide outlined in this article, you can confidently delete a Life360 circle and regain control over your location sharing and circle participation. Remember to communicate with other circle members and adjust your privacy settings as needed. Life360 provides a platform for staying connected, and managing your circles ensures that you have a positive and customized experience within the app.