How to Remove Quick Weave Cap: Step-by-Step Guide
Quick weaves are a popular and convenient way to change up your hairstyle without committing to a long-term weave installation. However, there comes a time when you need to remove the quick weave cap. Whether it's because you want to switch hairstyles or simply give your scalp a break, knowing how to properly remove a quick weave cap is essential. In this comprehensive guide, we will walk you through the step-by-step process of removing a quick weave cap without causing damage to your natural hair or scalp.
I. Gather the necessary tools:
Before you begin the removal process, make sure you have the following tools handy:
- Wide-tooth comb
- Hair clips or ponytail holders
- Scissors (optional)
- Oil-based or alcohol-based solvent
- Cotton balls or pads
II. Prepare your workspace:
Find a comfortable and well-lit area where you can work on removing the quick weave cap. Make sure you have access to a mirror to help you see what you're doing throughout the process.
III. Detangle your hair:
Using a wide-tooth comb, gently detangle your natural hair. This step will make the removal process smoother and minimize any pulling or tugging on your hair.
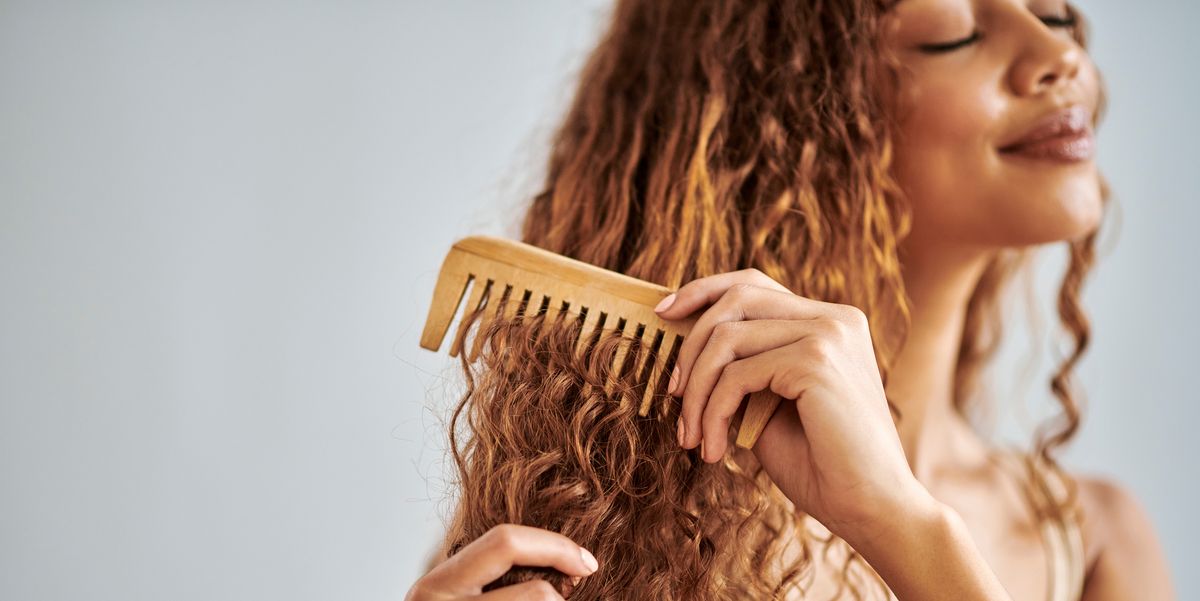
Detangle hair with wide-tooth comb
IV. Section and secure your hair:
Divide your hair into manageable sections using hair clips or ponytail holders. This will prevent your hair from getting tangled or interfering with the removal process.
V. Apply the solvent:
Using a cotton ball or pad, apply an oil-based or alcohol-based solvent along the hairline where the quick weave cap is attached. Allow the solvent to sit for a few minutes to loosen the adhesive.
VI. Gently lift the cap:
Starting from one side, gently lift the quick weave cap away from your scalp. Use your fingers or a wide-tooth comb to carefully separate the cap from your hairline. Take your time and be patient to avoid any unnecessary pulling or discomfort.
VII. Remove any remaining adhesive:
If there is any residual adhesive left on your natural hair or scalp, use the solvent and cotton balls/pads to gently remove it. Be careful not to rub or scrape too vigorously, as this can irritate your scalp.
VIII. Cleanse and condition:
After the quick weave cap is completely removed, cleanse your hair and scalp with a gentle shampoo. Follow up with a moisturizing conditioner to restore hydration and nourish your hair.

Cleanse hair with Shampoo
IX. Style as desired:
Once your hair is clean and conditioned, you can style it according to your preference. Take this opportunity to give your hair some extra care and avoid immediately reapplying another quick weave cap to allow your scalp to breathe.
X. Conclusion:
Removing a quick weave cap is a straightforward process when done correctly. By following this step-by-step guide, you can safely and effectively remove the cap without causing damage to your natural hair or scalp.
Remember to be patient, gentle, and take your time throughout the process. Your hair will thank you for the care and attention you provide during the removal process. Enjoy the versatility and freedom that comes with changing up your hairstyle!