Opening Roku Remote: The Ultimate Guide to Getting Started
The Roku remote is an essential component of your Roku streaming device, allowing you to control and navigate through your favorite streaming content. Whether you are setting up a new Roku device or replacing your old remote, knowing how to open the Roku remote correctly is crucial. In this comprehensive guide, we will walk you through the step-by-step process of opening your Roku remote, ensuring a smooth and hassle-free experience. So, let's dive in!
I. Why Opening the Roku Remote is Necessary
Before we delve into the process, let's understand why opening the Roku remote may be necessary. Over time, your remote may encounter issues such as unresponsive buttons, battery replacement, or the need to pair it with your Roku device.
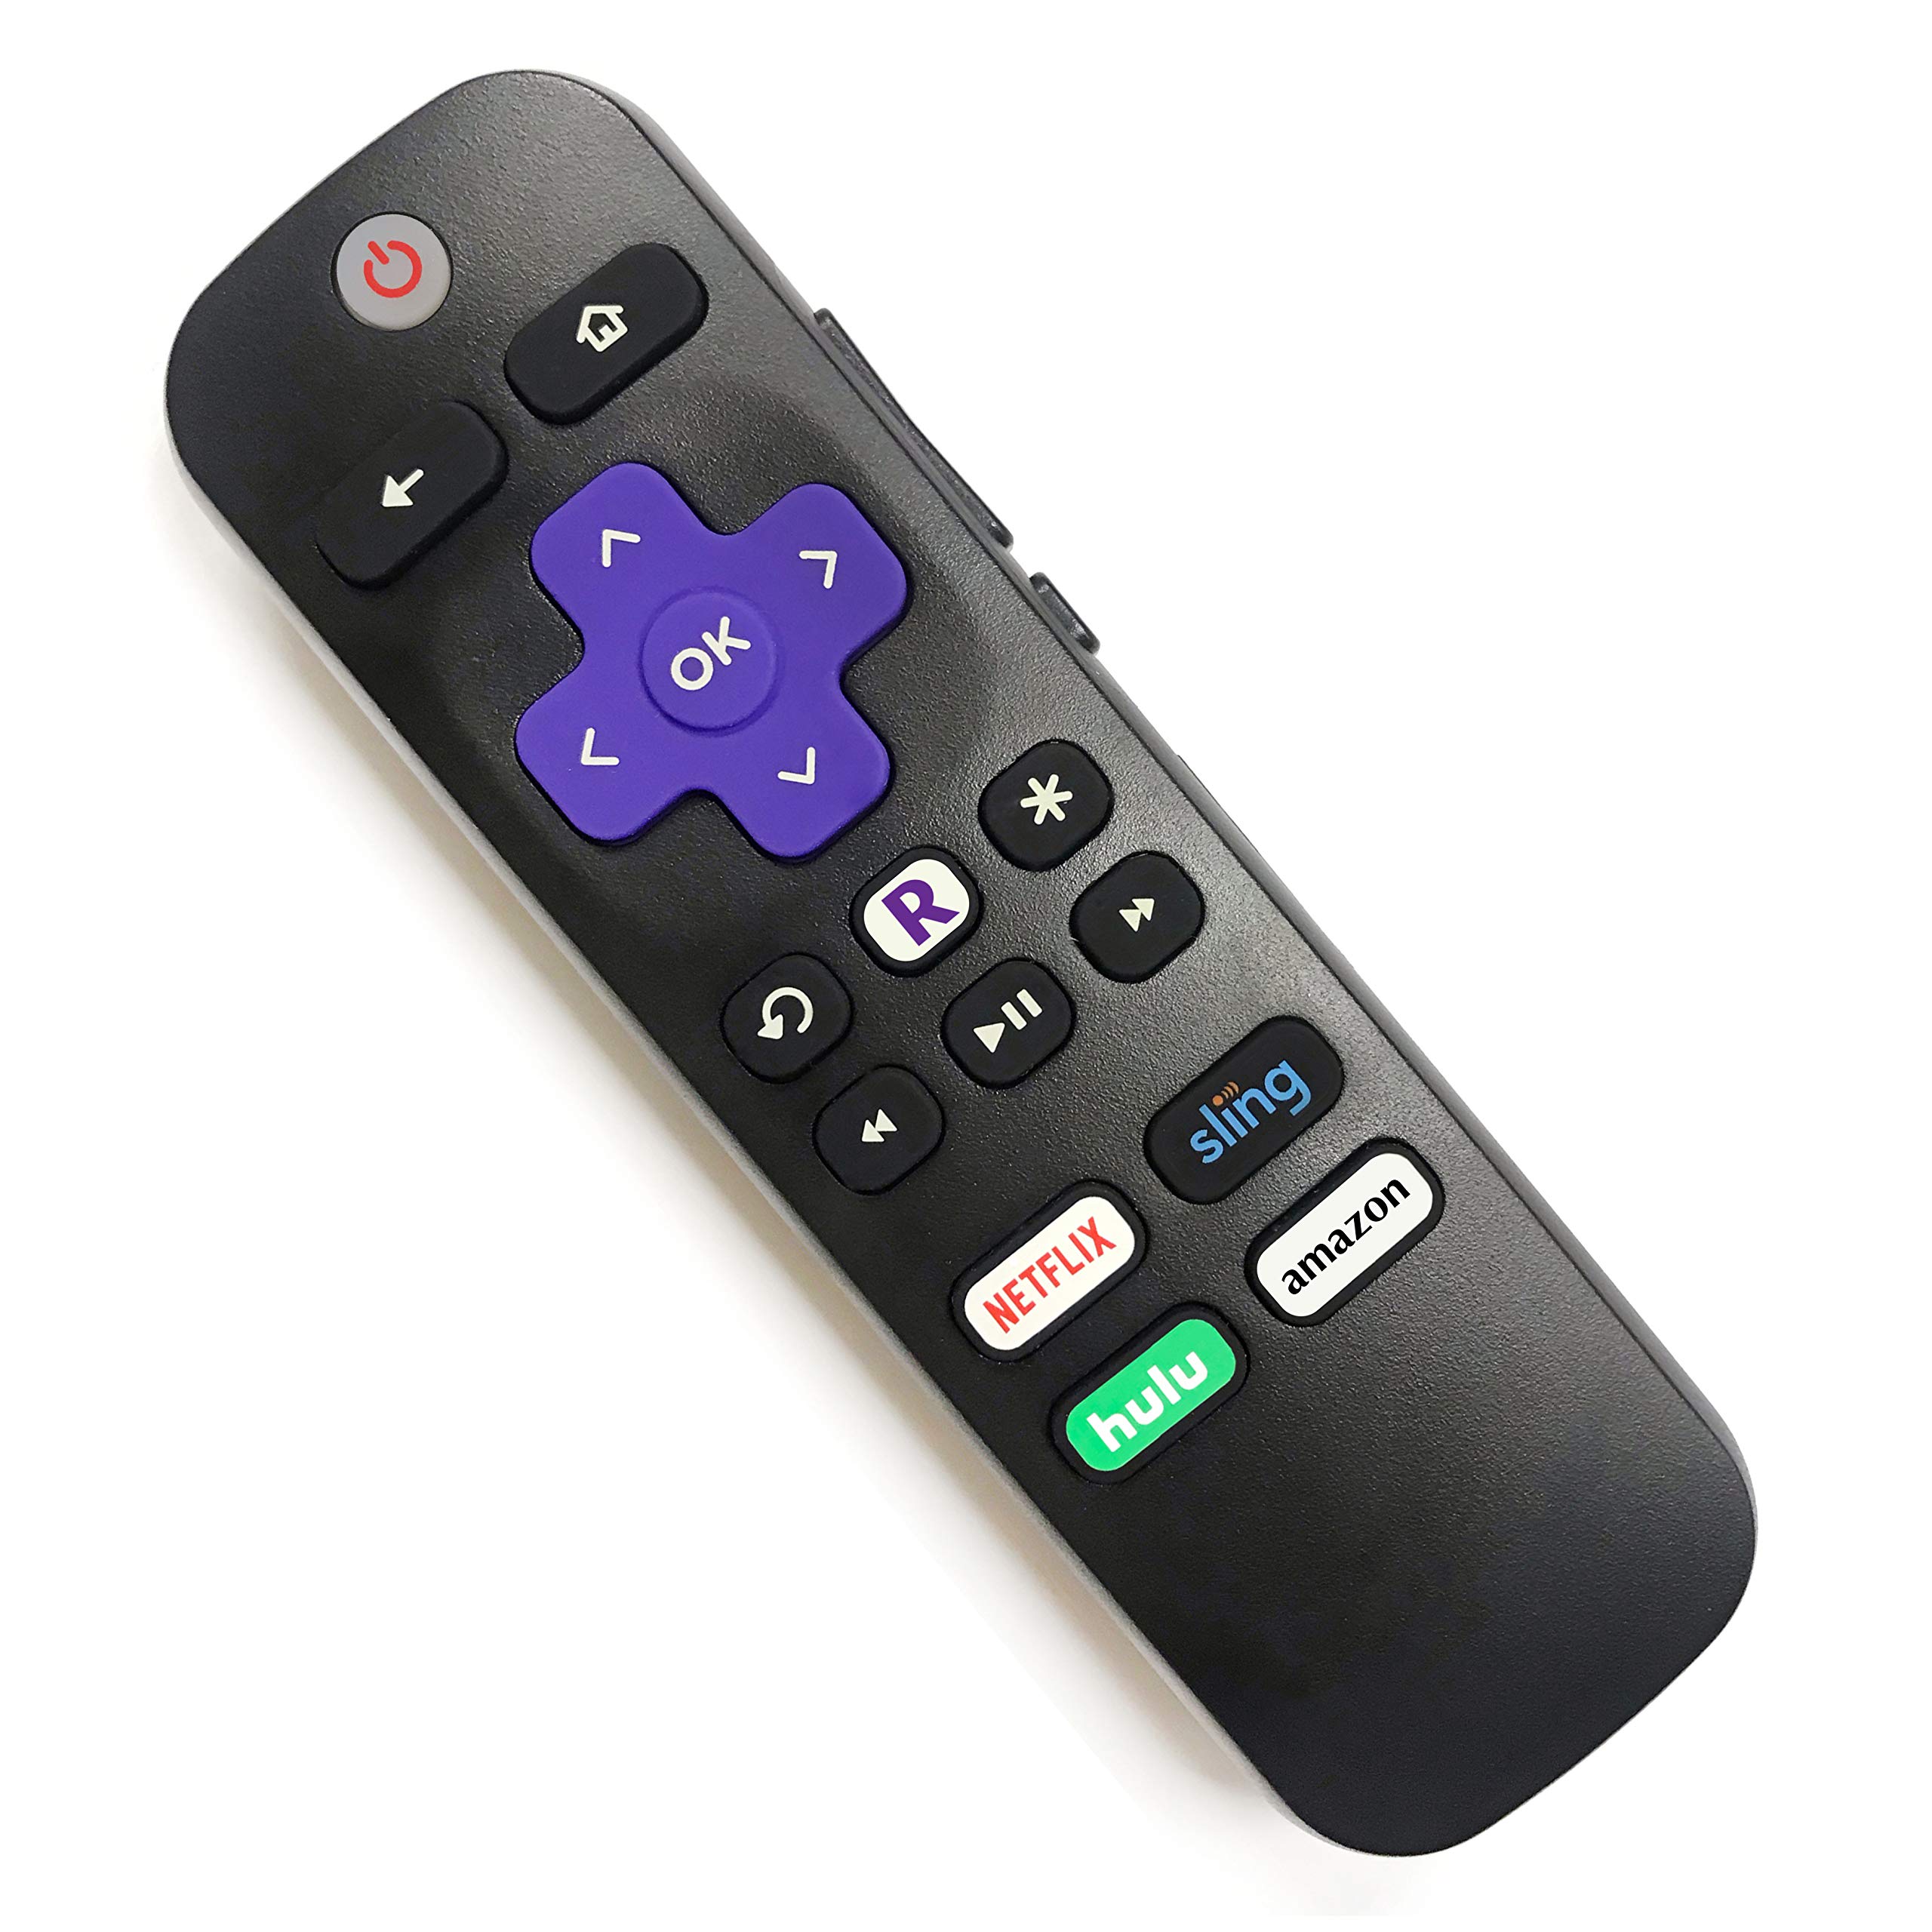
Roku remote
In such situations, knowing how to open the Roku remote is vital to address these concerns effectively.
II. Preparing for Opening the Roku Remote
To begin the process, gather the necessary items. You will need a small Phillips screwdriver, a soft cloth, and a replacement battery (if required). Ensuring you have these items ready will save you time and frustration during the process.
III. Identifying the Battery Compartment
Locating the battery compartment is the first step in opening your Roku remote. Flip the remote over to the backside and look for a small compartment near the bottom. It is typically labeled "Battery" and can be easily identified.
IV. Removing the Battery Cover
Using the small Phillips screwdriver, gently unscrew the screw on the battery cover. Be cautious not to apply excessive force to avoid damaging the screw or the remote. Once the screw is removed, carefully lift the battery cover to expose the battery compartment.
V. Replacing the Battery (If Required)
If you need to replace the battery, remove the old battery from its slot and dispose of it properly. Take the new battery and ensure it matches the specifications mentioned in your Roku remote's user manual.
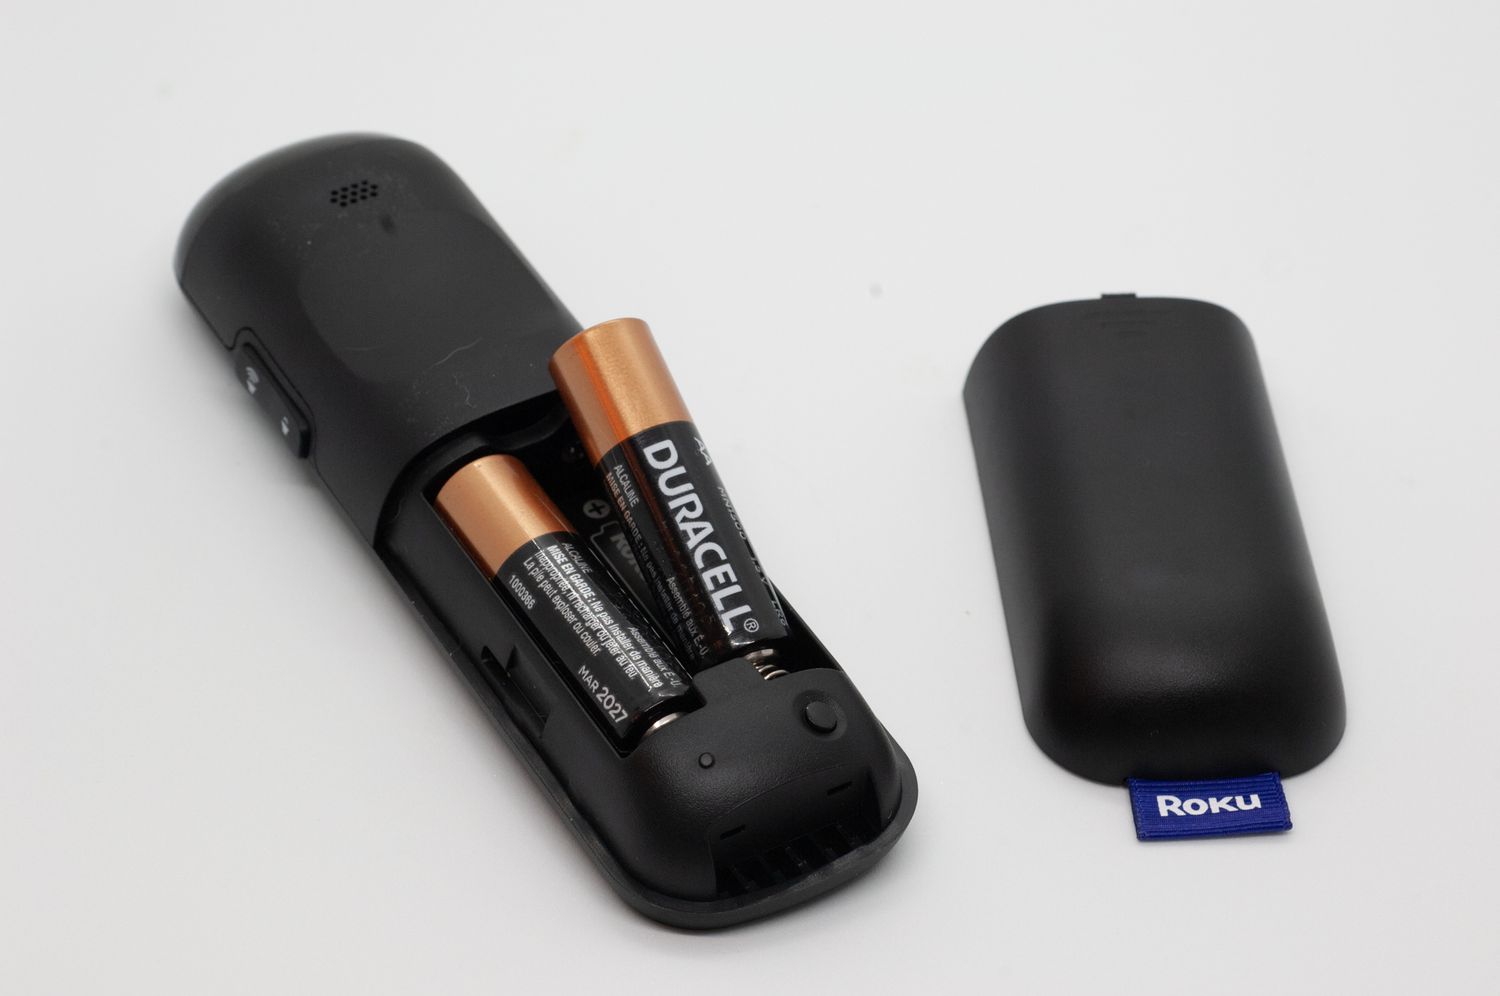
Replacing the Battery
Insert the new battery into the compartment, ensuring the correct polarity. Finally, close the battery cover and secure it in place by tightening the screw.
VI. Troubleshooting: Pairing the Roku Remote
In some cases, you may need to pair your Roku remote with your Roku device. If your remote is not functioning properly even after replacing the battery, try pairing it. To do this, ensure your Roku device is powered on and follow these steps:
- Open the battery compartment of your remote.
- Locate the pairing button (usually located near the battery compartment).
- Press and hold the pairing button for a few seconds until the pairing light on the Roku device starts flashing.
- Release the pairing button and wait for the Roku remote to establish a connection with the device.
- Once the pairing process is complete, you should be able to control your Roku device using the remote.
VII. Cleaning and Maintenance Tips
While you have your Roku remote open, take the opportunity to clean it and ensure its longevity. Use a soft cloth to wipe away any dust, fingerprints, or debris from the remote's surface.
Avoid using harsh cleaning agents or excessive moisture, as they may damage the remote. Regular maintenance will keep your remote in optimal condition.
VIII. Conclusion
Opening your Roku remote doesn't have to be a daunting task. By following the step-by-step guide provided above, you can easily access the battery compartment, replace batteries if needed, and troubleshoot common issues.
Remember to handle the remote with care and refer to the user manual for specific instructions. By keeping your Roku remote in good condition, you can enjoy uninterrupted streaming and control over your Roku device.